Oct 24

CASE Study Challenge #163

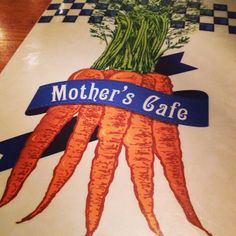
Hi guys, you know what comes on Thursdays, right? CASE Study! After the last week’s woodsy theme, we’re serving you today a subtler inspiration piece from Elena Roussakis. Who’s in for a bit of Muse-inspired crafting?

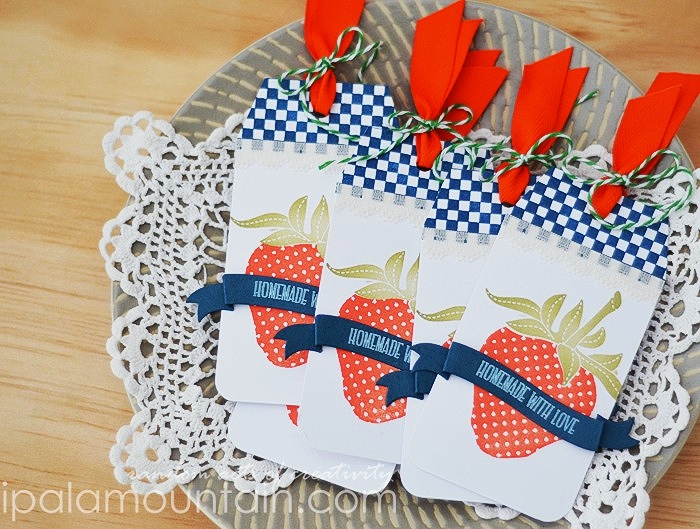
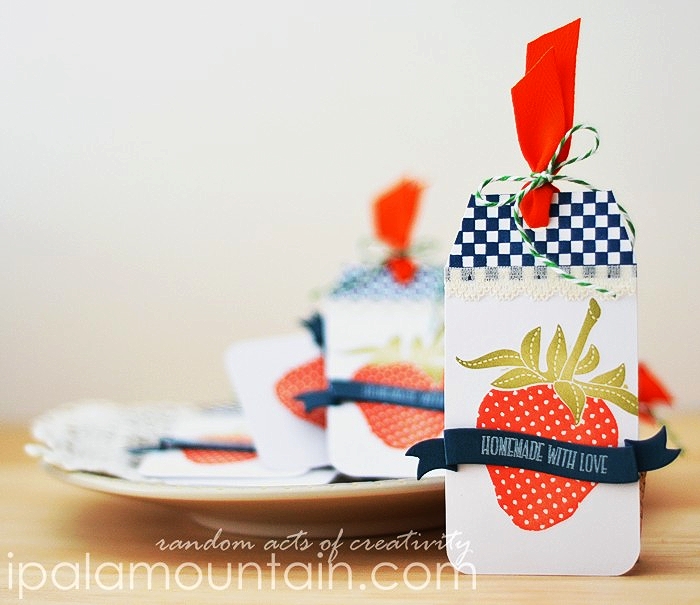
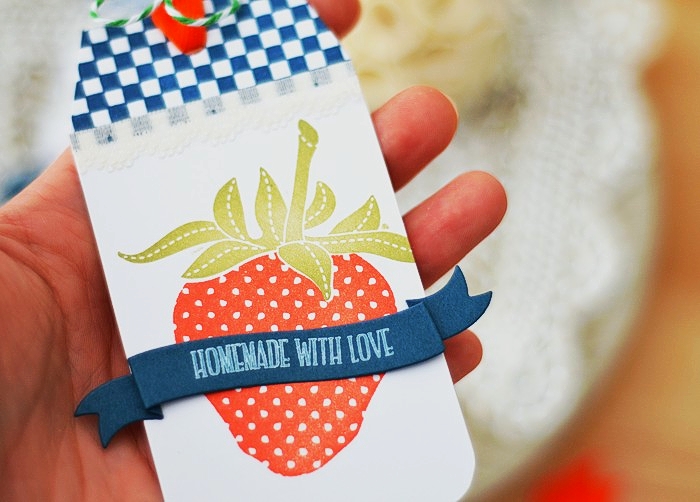
I can’t lie that I picked this ensemble because I’m partial to the Twinkle Toes stamp set from Clearly Besotted and it came to my mind the minute I saw it. The result is this set of four tags; I embossed the silhouettes in gold, stamped the sentiments in grey, and added a strip of a different washi tape to each tag. Now they’re ready to affix to my little princesses’ gifts :)

Check out the blogs below for the Design Team’s takes on the challenge, or visit CASE Study for the full reveal.

Elena Roussakis - October Muse
Michelle Williams - October Guest Designer
Amy Wanford
Andrea Ewen
Clare Buswell
Debby Hughes
Jean Martin
Jeanne Jachna
Maureen Merritt
Silke Ledlow
Tasnim Ahmed


Oct 23

Enthralled with Fall

I’m taken with the Tuesday Trigger again (Enthralled With Fall, see it here), and as it happens, I’m reaching for fall leaves again too. If previously the use of foliage was justified by the colours, this time, well… see for yourselves. Pure Autumn bliss, hey?

I reached for my Inkadinkado woodblock feaf. Funny how I tend to forget about my wooden stamps, yet I truly love the designs I have… I wish I had a neat display of them on the wall but instead I’m keeping them crammed in a basket which doesn’t help. But anyway, I dug this one out for the purpose and I’m glad I did because it stamps beautifully :)

I inked the leaves with a couple of different Distress Inks. I tried to mix the colours on each by applying different colours selectively to parts of the stamp, but the effect is a bit less dramatic than what I was hoping for. The textured background is a Core’dinations cardstock which I had forever. I bought the sheet separately and it has no details on it, so my apologies for no link. The sentiment is made up of Mama Elephant stamp and American Crafts / Dear Lizzy Thickers.


Oct 22

Design infused #4

Hi there! It’s been a while, in fact I had this project sitting on my desk for over a week, all I needed was a moment to photograph and blog the poor things… not always an easy task these days :)
The new Design Infused revolves around the photo that my friend and blogger Lisa Spangler from Sideoats & Scribbles shared on Facebook a few months back, and which I fell in love with. Full credit goes to you, sistah!

What is Design Infused series about?
I take a design piece that inspires me (be it stationery, clothing, packaging, etc.), and translate it into a custom paper-craft design, using predominantly stamps and ink. I take great joy in letting what I see around, influence my designs, and I want to show you how easy it is.
I collect the inspiration in my Pinterest board especially created for this purpose, and pick a piece from the lot for each installment of this feature.

The inspiration photo is courtesy of Lisa and since she shared it on her personal FB page, I won’t link to it directly. I believe it’s a sign of a local eatery that she visited, I think it’s so cute with its simple cottage charm. I especially like the checked strip at the top, and the banner.

I immediately had in mind, a set of tags which I can attach to the baked treats, that I like to give to people as thank-you gifts. Sometimes I whip up something yummy last-minute (ok, more often than that…) and I need a handy-dandy tag which I can quickly sign at the back and carry to the recipient. It’s good to stock up on these things!


I changed the carrots for the big strawberry from the Waltzingmouse Big Berries - Strawberry stamp set, and the checked background happened with the help of Off Beat Backgrounds, also Waltzingmouse. I added a length of subtle lace trim, to where the pattern ends, shame I couldn’t capture it well enough on the photo - it looks really lovely and adds to the cottage charm. I cut the banners from navy cardstock, with Simon Says Tilted Banners die, I’m madly in love with them! (I’m sure you noticed too, lol).
The sentiment comes from the WPlus9 set called Fresh Baked. It’s delightful and perfect for all those home-made goodie gifts, I honestly have to start whipping up all sorts of goodness with it soon! It comes with custom dies too, of course! We wouldn’t have it any different from WPlus9 :)

Hope you enjoyed, see you again soon :)


Oct 20

Countdown to Christmas with Penny Black, week #10

Hi guys, it’s Sunday and it’s time for a Countdown to Christmas! Hope you enjoyed the two previous weeks, here’s tonight’s’ serving…

Countdown to Christmas
As a reminder, the plan is to share a new Christmas card made with Penny Black stamps each week. I cut the Dancing Leaves from cork and added the sentiment from Merry & Happy stamp set, white embossed on a green card. The DP comes from the Lawn Fawn Peace Joy Love 6 x 6 pad.

I’m entering this card into The Metal, Wood & Cork Challenge (cork, wood veneer), as well as The General Craft Supplies Challenge (bells, doily), in the Moxie Fab World.
I also used this Cardabilities sketch:


Oct 19

WMS October Pajama Party

Are you playing with this month’s Pajama Party? No? Tune in to the fun happening on the Waltzingmouse blog, and you could win yourself a store credit (double the value if you use WMS stamps). There’s still a good couple of hours to make something for one of our challenges (Halloween and/or Art Deco - inspired), and the Bedtime Story sketch will be open for the whole week.

I decided to make a little something for the Art Deco challenge. Claire asks for black & white with a pop of colour. I’m guilty of making this card almost white & gold, with a pop of black. LOL!
I combined the new Art Deco Background and Putting On The Ritz stamp sets. I created a circular pattern with diamond and fan shapes, cut a circle in the center which I ’embellished’ with a gold glitter die cut and stamped the sentiment in the recessed inside.

The glittery strip, on the other hand, was made by applying loose glitter to a strip of double-sided tape. I added a length of white string along the top side of the strip, to visually balance the heavy focal point.
I used the CTS#50 sketch, for the card above.

I also created a Halloween card, based very loosely on the Bedtime Story sketch below:

I somehow ended up stuffing all four of the last release Halloween sets, into this number. I stamped the scene in grey ink and added some colour with Copics. Then I added the sentiment (date), the Dracula silhouette and the branches, in black ink. Lastly I cut the slits on both sides of the count (using a craft knife) and threaded a strip of vellum through so that the strip covers the card but not him. I also added a couple of silver sequins but I’ve got to apologize for the poor quality of the photos which makes them almost impossible to see. I took them at midnight; not the best of my efforts but that’s all I’ve been left with at the end of two very intense days…

Now it’s your turn! You can read more upon the details, and link up your artwork on the WMS blog. See you tomorrow! xx

The Cat’s Pajamas card

Halloween card


Oct 18

Christmas cutting with Penny Black

Hi there! I’m back for a quick post, just letting you know (if you haven’t seen it yet), that I’m up on the Penny Black blog, in a yesterday’s post featuring one of their new dies. Check it out here! I wanted to share some more detailed shots here, as well as a few words of description.

I don’t often play with Distress Inks but I swear that every time I do, I ask myself a question, why? Stunning results can be achieved by blending just two or three shades, like I did here. On top of that, I added some water splatters for some texture and in result I achieved a background that seems to sparkle and shimmer. Absolutely loving the effect!!
The die that I used is Penny Black‘s Nature’s Song, the sentiment comes from Winter Wonders. The ‘berries’ are little dots of Liquid Pearls, which I added to the end of each branch.
I’m linking this card into The Color Media Challenge in the Moxie Fab World. That’s all for now, enjoy your weekend and ‘see’ you again soon!


Related Posts Plugin for WordPress, Blogger...