Feb 16

Spread happiness

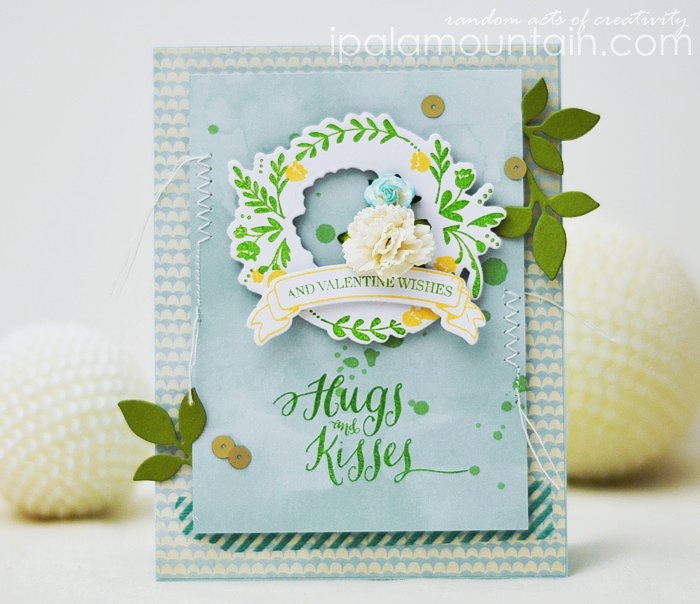
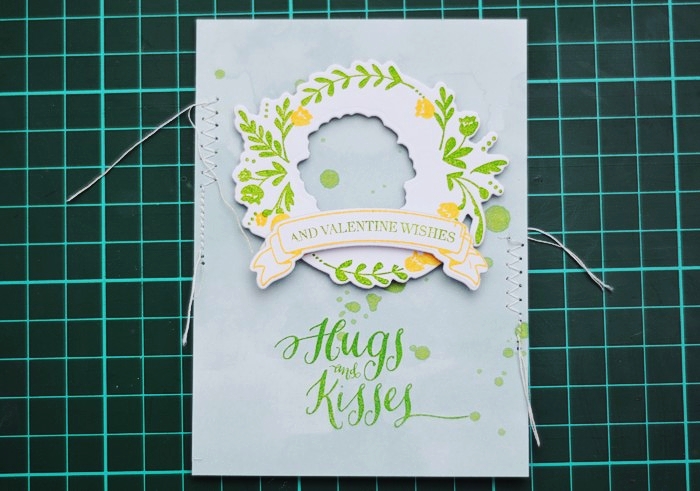
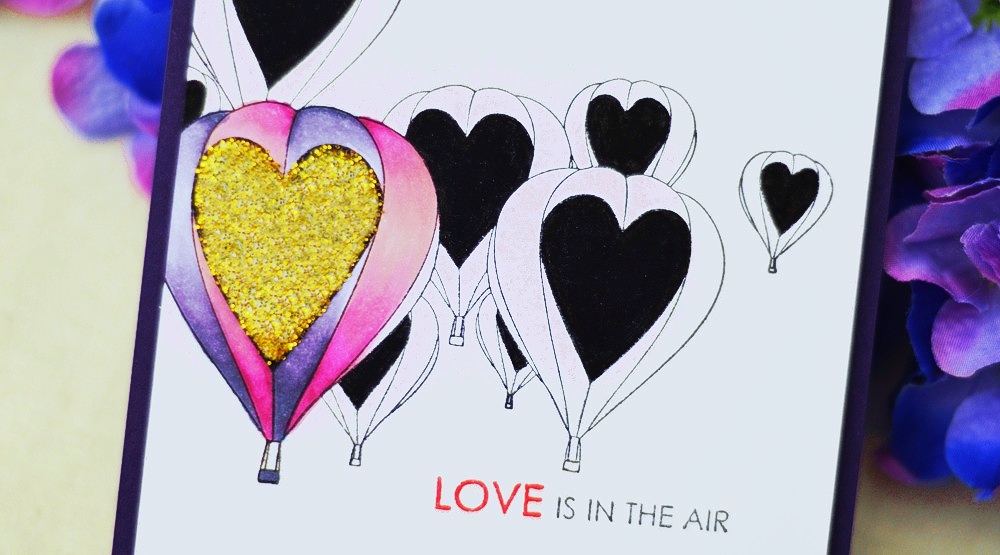
I haven’t visited for a couple of days (we’re moving, people!! I’m excited but it’s a helluva work…) so I thought I’d share a card that the last night’s impromptu craft session resulted in. It’s was a quick relax therapy and it yielded an equally happy card :)

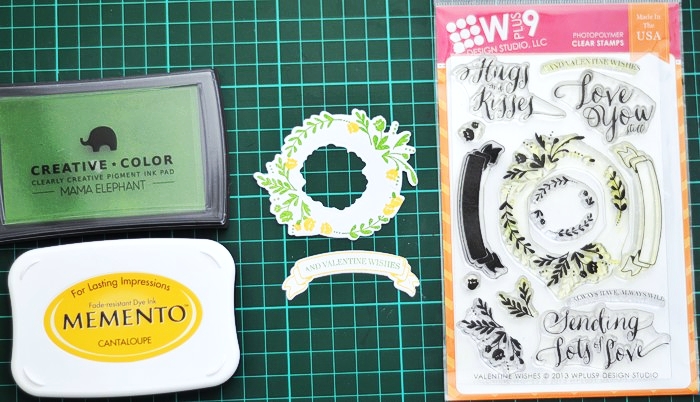
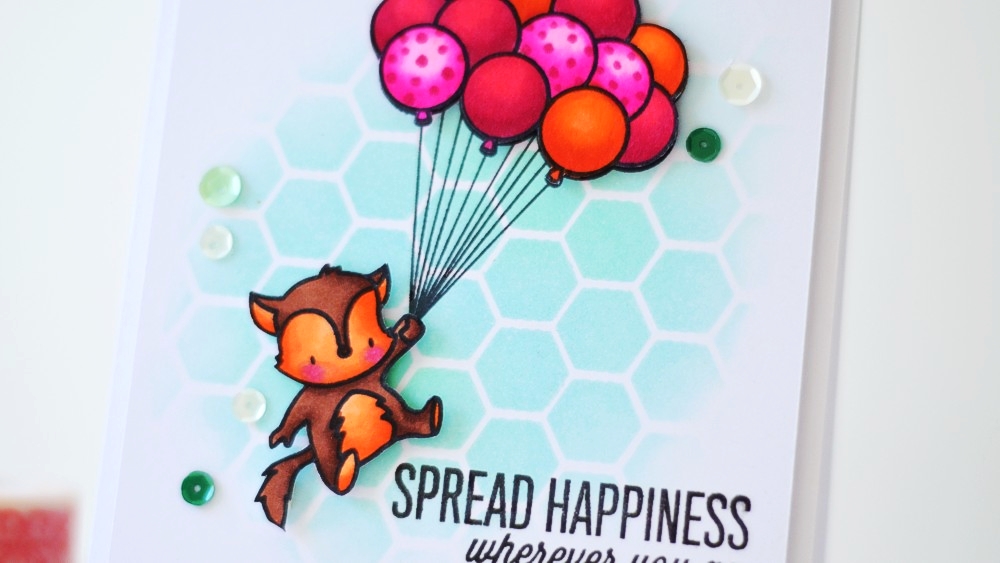
Images by Mama Elephant (Up and Away), coloured with Copics:
RV 02/04/06/14/17/19
E 25/27/29
YR 65/68/04/07/09
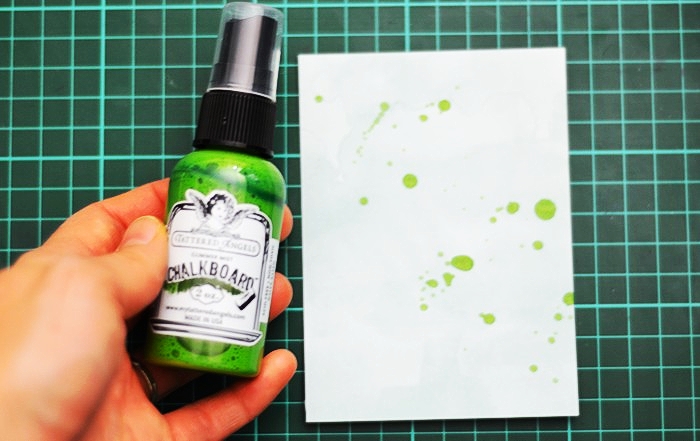
Background created with a MFT Mini Chicken Wire stencil and VersaMagic inks (Sea Breeze, Aquatic Splash). Sequins from Neat & Tangled.
Inspiration comes from the CTS#64 sketch and Happy for Hexagons Challenge in the Moxie Fab World.

I’m sorry for the incomplete supply list, Julka woke up crying and I need to rush things up. See you again soon!


Feb 14

Anatomy of layers & happy Valentine’s Day!

I’m a bit late to the party, I’ve been wanting to join in another one of the WPlus9 Anniversary challenges but kept running out of time. Especially that the current one is about adding dimension. Get out! Dimension and texture is what Chupa likes best. Since I knew I would indulge in layers, I took some step-by-step photos so that you guys can enjoy another Anatomy of Layers tutorial. Here’s the card, hope you’ll enjoy!

I began by covering the front of PTI Aqua Mist card, in the scallop paper from the Basic Grey Fresh Cut 6×6 pad. I also cut a panel (1 cm smaller from each side) from the aqua watercolour design.

I cut the wreath and banner with WPlus9 Valentine Wishes dies, from white cardstock. Notice how I used the smaller wreath die to cut a hole inside the bigger wreath. It’s going beyond the intended purpose for that die but it totally works if you want some space cleared there :)

I stamped inside the die cuts, using the coordinating Valentine Wishes stamp set. I added a few more flowers in places.

I flicked some Mantis Chalkboard mist, over the panel I preciously cut.

Stamped the sentiment…

…and mounted the wreath + banner on the panel. I also machine stitched on both sides.

Next I added two mulberry flowers to the inside of the wreath. Those flowers come with a wire ‘stalk’ and instead of removing them, I always thread them through the paper, cut to desired length and secure of the other side with a piece of double-sided tape.

Once I was happy with the arrangement, I die cut two clusters of leaves with WPlus9 Folk Art Florals dies, and secured them at the back so that they’re peeking out from beneath the panel.

Finally, I adhered the panel to the card front and added finishing touches: a length of washi tape and gold sequins.

Here it is again :)


In other news:

A new challenge is up at StampNation and in honour of Valentine’s it’s all about RED! The Design Team’s takes are scrumptious.

We’ve got a sponsor this week (CTMH) and while the players have two weeks to enter if they want to win, our challenges never close!
Here’s a better close-up of my card:

Don’t want to miss any of it? SING UP HERE!


Feb 13

CASE Study Challenge #178

It’s time for a new challenge at CASE Study! Danielle Flanders is our Muse this month (YAY!) and we’ve got a super cheerful card of hers served as an inspiration this week.

Well, that card is what makes ME happy. Everything from the fun arrangement of the elements, to the choice of patterns and that adorable heart on the string, screams joy. I chose to do a similar, rainbow colour palette but instead of stamping, I used a watercolour wash (just regular watercolours and paintbrush). I also splattered some Tattered Angels Chalkboard mist (in Ferrari Red and Bittersweet), luckily the colours coordinated perfectly.

Then I die cut the Big Hugs sentiment from Simon Says, in woodgrain paper (similar to the one from SSS) and inlaid it in the slot left from cutting it out of the panel.
I added the stamped words to complete the sentence, from Waltzingmouse Say It Loud stamp set, washi tape to the top and bottom of the panel, Studio Calico wood veneer stars and finally, following the suit I added a die cut heart “charm” (PTI Love Lives Here dies and Lawn Fawn Peace Joy Love paper pad) on a piece of string and fastened with a staple. I LOVE using staples on my cards :)

I’m also playing with Taheerah’s current challenge:

Check out the blogs below for the Design Team’s takes on the challenge, or visit CASE Study to see it all in all place.

Danielle Flanders - February Muse
May Park, Caryn Davies - February Guest Designers
Amy Wanford
Andrea Ewen
Clare Buswell
Debby Hughes
Jeanne Jachna
Maureen Merritt
Silke Ledlow
Tasnim Ahmed


Feb 12

Love is in the air… with Penny Black

Super short and sweet tonight… on top of the hullabaloo coming with the things to come, I’m down with cold today… NOT something I was anticipating but I’m rolling with it, if I must :)
A CAS sweetie of a card today, made with an awesome cling stamp from Penny Black, called …In The Air. I’ve been eyeing it for ages and I’m glad I finally can give it some… um, love. Cheesy, eh?

I stamped the image + sentiment in Memento Tuxedo Black (with a little help from Memento Love Letter for the sentiment), and gave one of the balloons some colour with the Following Copics: RV96/63/66, V22/25/28).
ETA: I just noticed that I* forgot to colour in a tiny bit of the balloon… oops!

Then I applied a thick layer of gold loose glitter to the heart, adhering it with Sparkle & Sprinkle Brushable Glue (formulated especially to adhere glitter to stuff). The card base is PTI‘s Royal Velvet but it’s kinda hard to see in the artificial light I took this photos in :/

I wanted to make it in time to use this timeless and gorgeous sketch (click the image for the link), but I put my own spin on it.

Peace out and see you tomorrow!


Feb 10

Sketchbook Saturday Challenge #115

Uh-oh, I’m majorly late with the sketch, guys but I do have an excuse (or two)! We’ve been battling with some bushfire-related emergencies yesterday, scary stuff. We were safe at our place but our family living 20 minutes down the road was forced to evacuate for most of the day. So far, so good and fingers closed tightly. I’ve been also ‘entertained’ by my younger’s cold… poor thing, I dislike watching her being sick and miserable.

Today’s sketch is closely inspired by this card by Ivana (second one in the post). I love it, even though it’s not what I’d usually go for these days. I hope you’ll like it too :)

Once again an eclectic mix on my card… SU! stamps, Basic Grey papers, Kaisercraft rub-on, Copics

Copics I used:
G40, G82, G85
Y00
BV20, BV23, BV25
***************************************************************************

If you would like to play along:

- You’re kindly asked to save the sketch image onto your computer first, and if you make a card based on it, please link back to this post.
- Share the link to your creation via the Inlinkz widget below, so that I can come and check it out!
Perks:
- A new sketch is posted every other Saturday night (10pm Australian EST, 6am American EST, and the link widget is open for two weeks. However, you’re welcome to play any time! Just leave a link in the comments section and I’ll pop in to see it.
- Every now and then, I’ll be inviting one person who uses my sketch, to join me for the next one!


In other news:

  • I’m guesting for the Russian My-Scrap blog, with a Valentine theme and this card featuring WPlus9 stamps, Simon Says heart die and embossing paste. Supplies listed below. Hope you’ll check the challenge out! >clicky<

Happiest Birthday card


Love You
card


Feb 07

PTI 7th Anniversary challenge

Umm, so there’s a super cool challenge up on the Nichole’s blog right now (one of many), which gives us various sketch and colour combos to choose from. Nichole is a master of putting together neat stuff like that, whenever it happens I can’t resist playing. Neither I did this time, hey! It’s good to join in the festivities too, it’s a whopper of an occasion to celebrate!

Let’s get down to it. Here’s the first pair I chose.

I felt like colouring today and I treated those flowers from Friends Till The End, to some Copics. I tried to match the given colours and so my choices fell on YR09, YR04, Y23, E09 for the blooms and B0000, B00, BG15 for the background. I’m digging the result :)

I loved these two as well… heck, I loved more still but I need to sleep some time too…

Here I made a collage-ish one layer with extras. I used Soft Stone CS for my neutral background (does it come through as such? it looks more like white to me on the photos) and added the clock face and sentiment from Hands Of Time, the leaves from Turning A New Leaf and the butterfly (coloured with R43 and R29 Copics) from Butterfly Dreams. Hooray for oldie love!

As Bugs would say… that’s all folks! No doubt I’ll see you again tomorrow, though. Until then!

Friend card

Celebrate card


Related Posts Plugin for WordPress, Blogger...