Jul 28
Hello, has the week started well for you? It’s the same old song that I’m going to sing today, apologizing for the delay of the new sketch. We had some lovely time with the rellies from abroad during the weekend, and time slipped me completely. The good part is that I photographed the process of making my sample card so you’ve got yourselves another installment of Anatomy of Layers 🙂
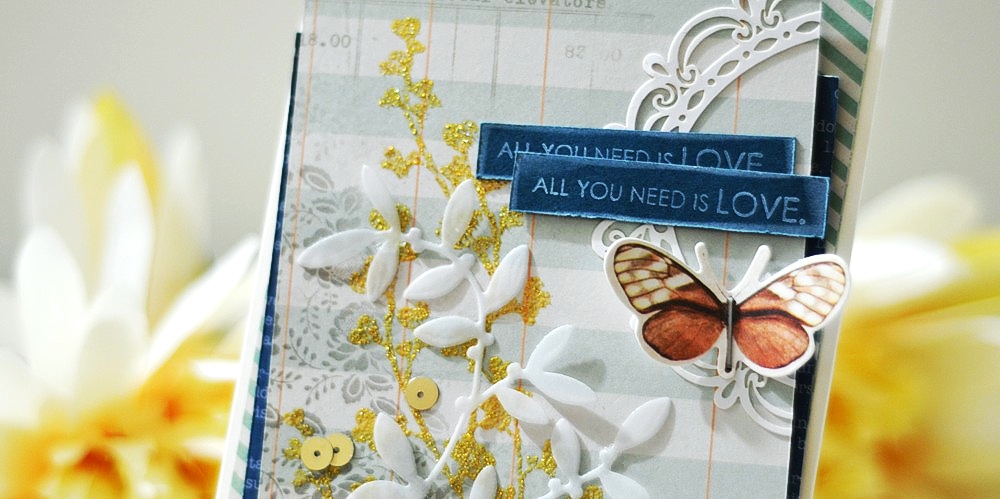
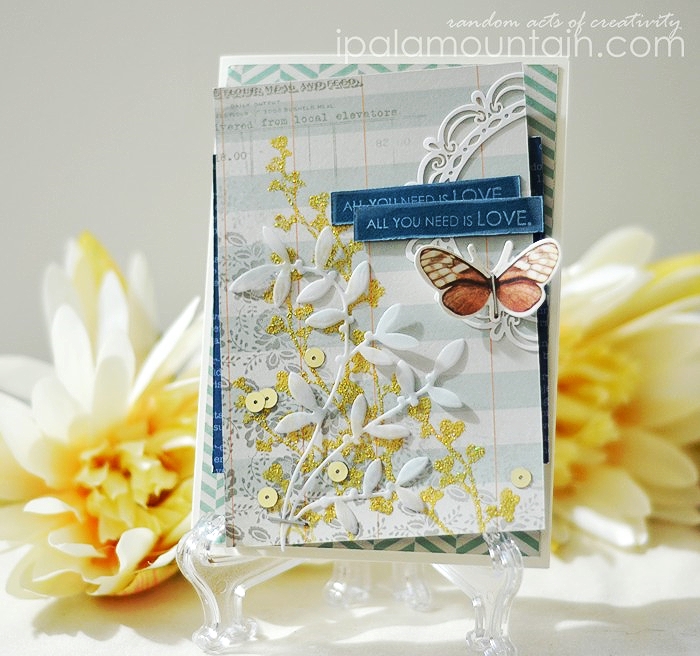
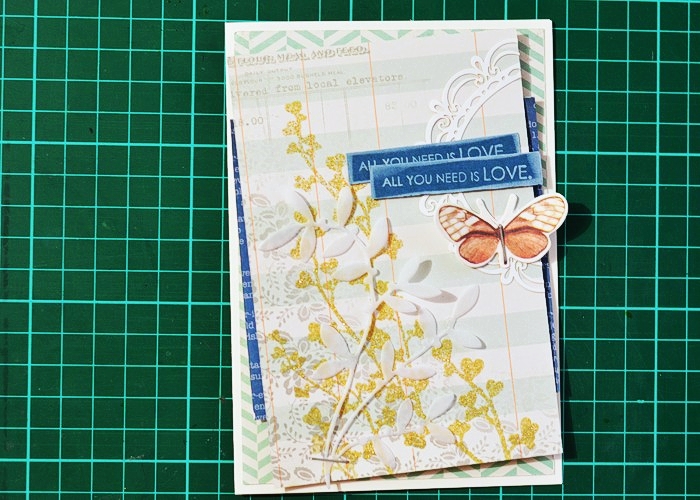
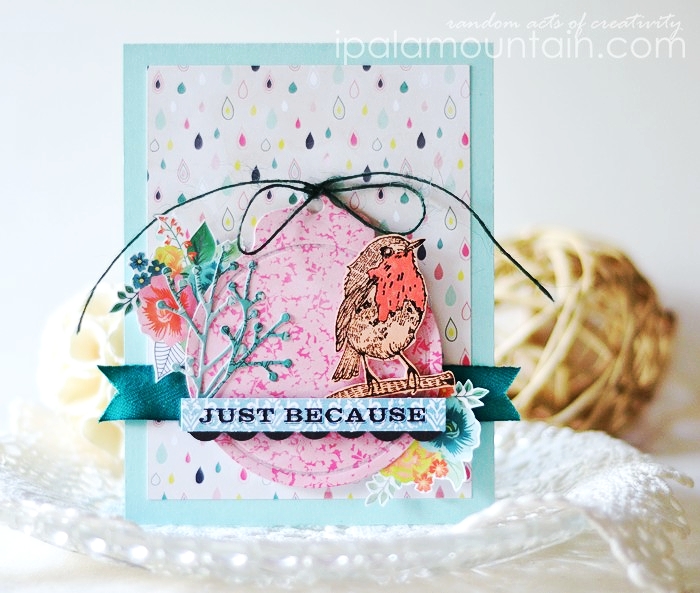
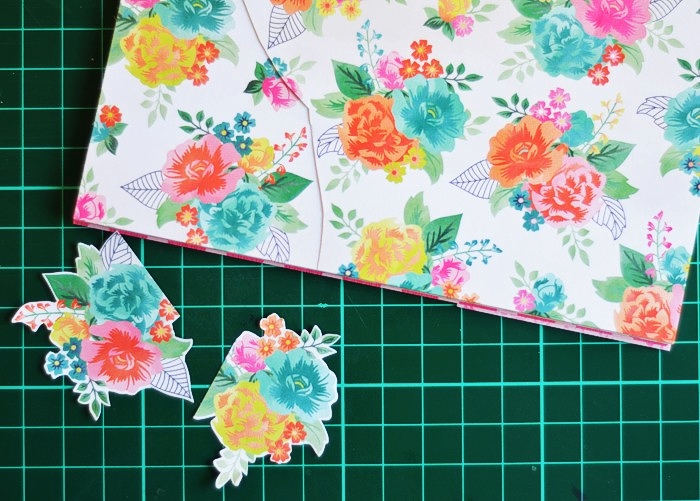
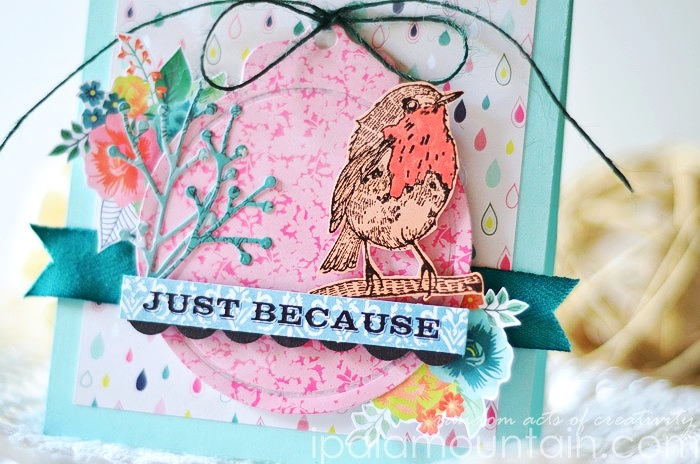
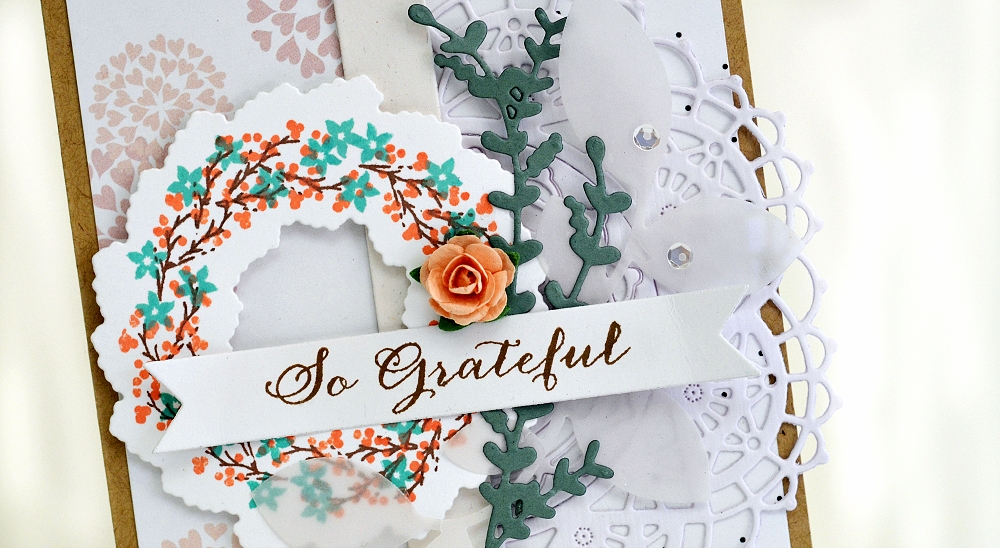
There are many ways in which you can interpret the cluster on the sketch - as you can see I combined stamping and a whole lotta die cutting. And an old fashioned mulberry rose… has someone said that they’ve gone out of style?? *wink*

My apologies for the poor quality of the photos. Not only photographing the process on the dark mat, right where the action is, doesn’t yield the most aesthetic results, but doing so in the lamp light late at night is not too good of an idea either. I figured that since it’s a good opportunity to share an extra content with you, it’s still better to do so than refrain because of unfavourable conditions 🙂
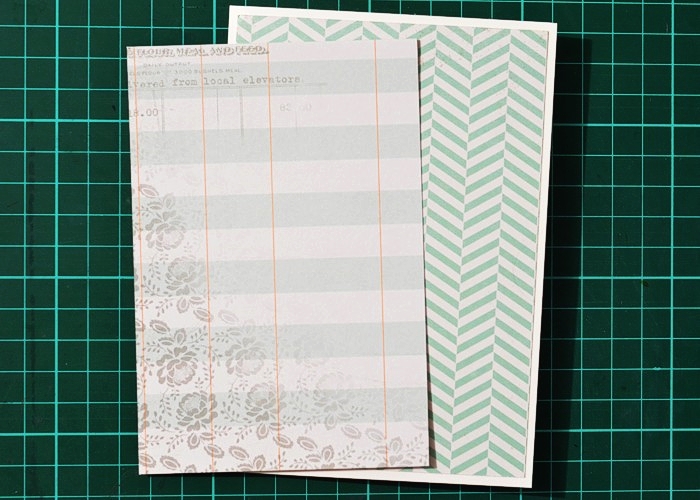
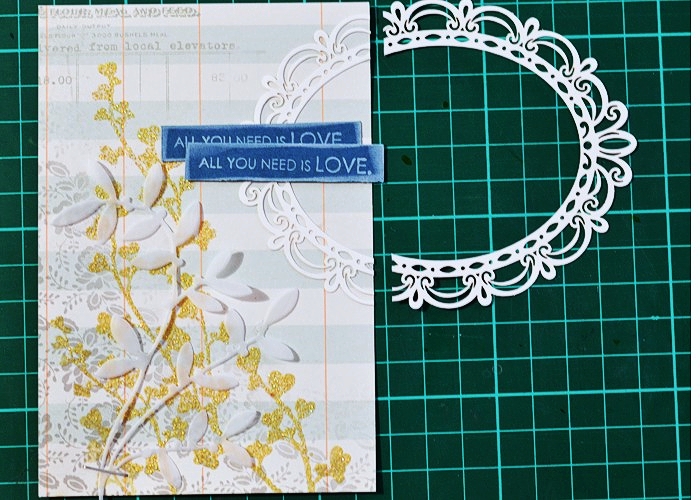
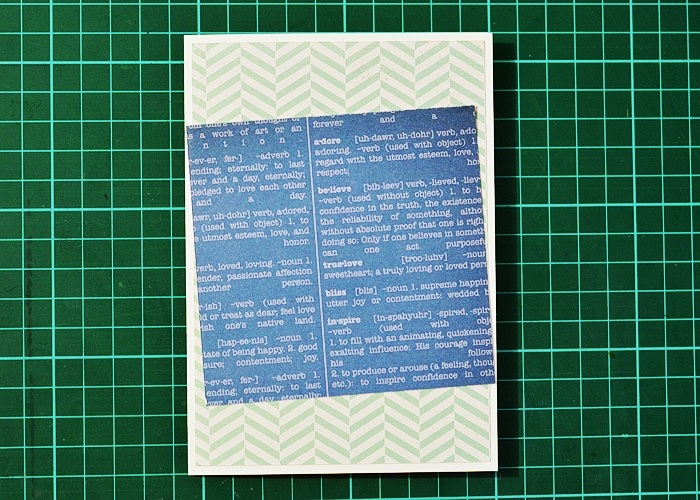
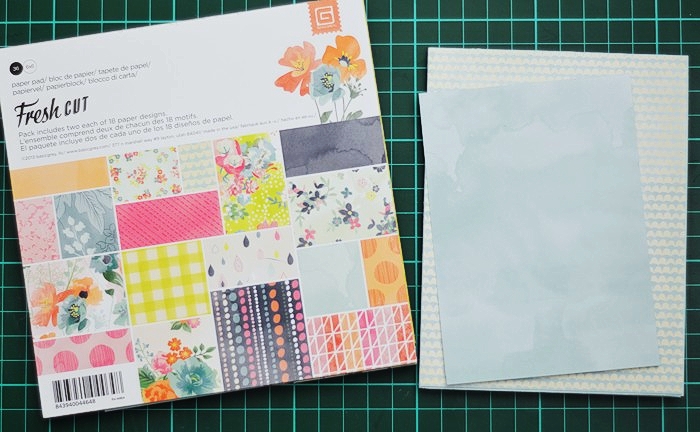
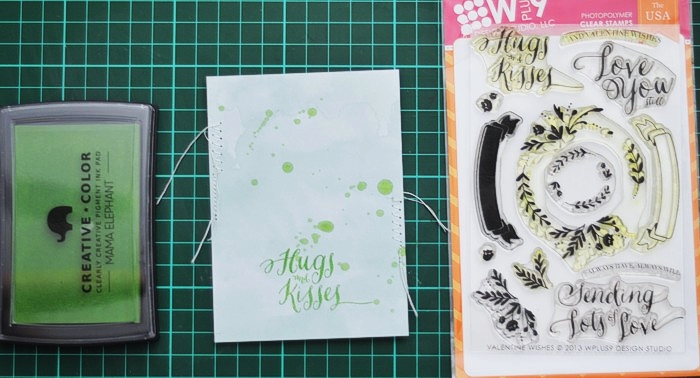
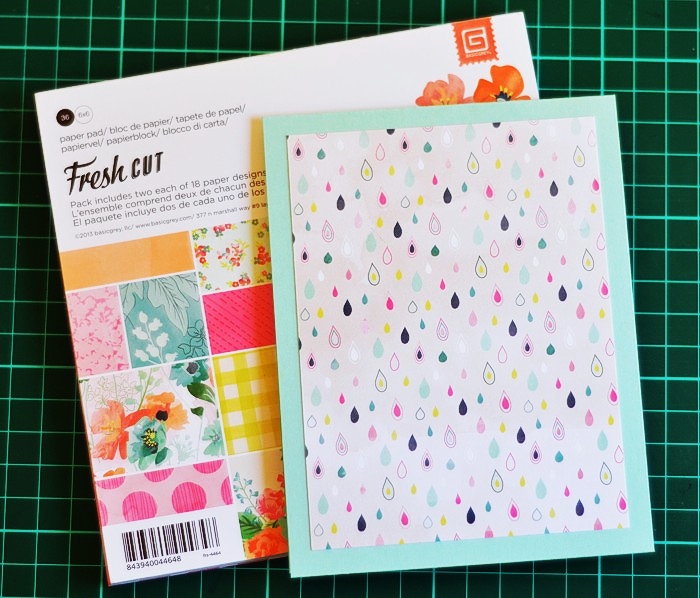
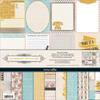
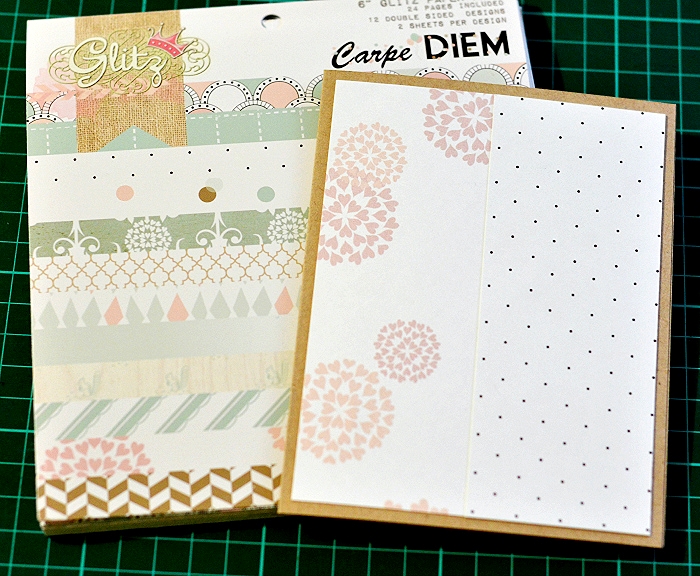
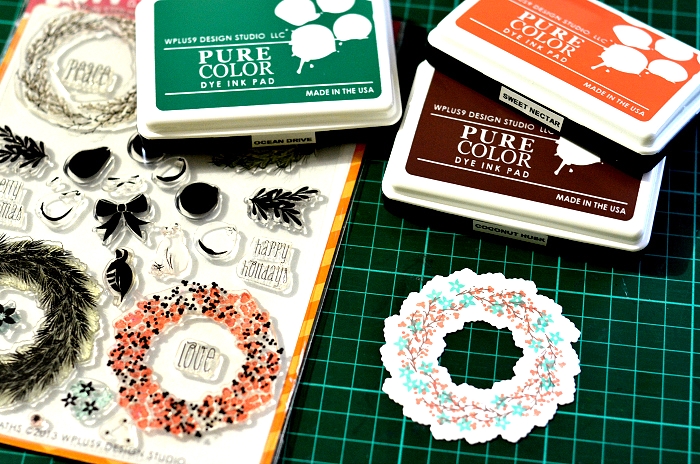
So I started by combining two designs from Glitz Design Carpe Diem 6×6 pad, on a WPlus9 Kraft card base.
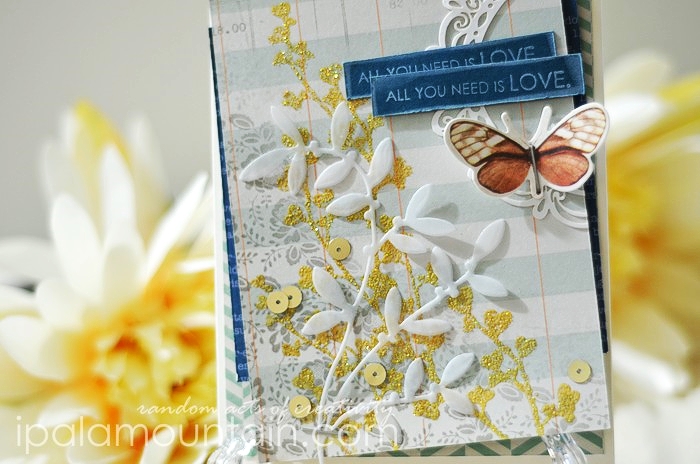
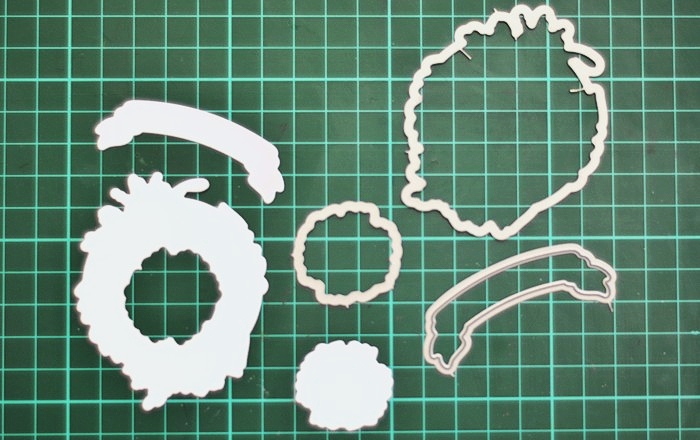
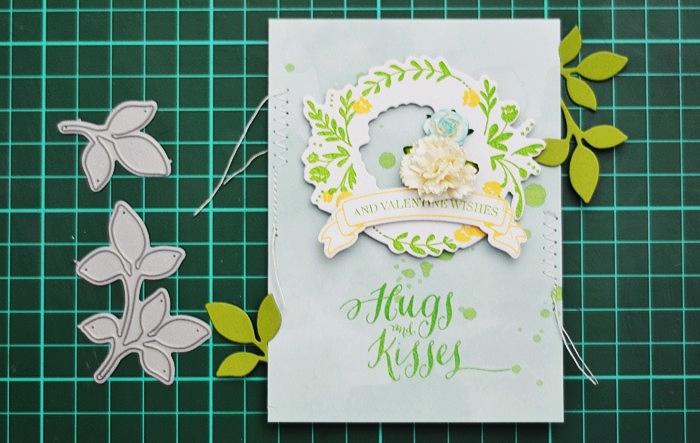
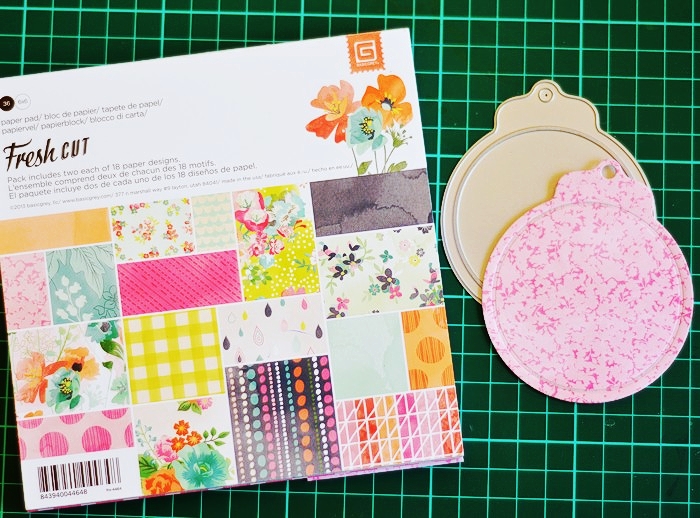
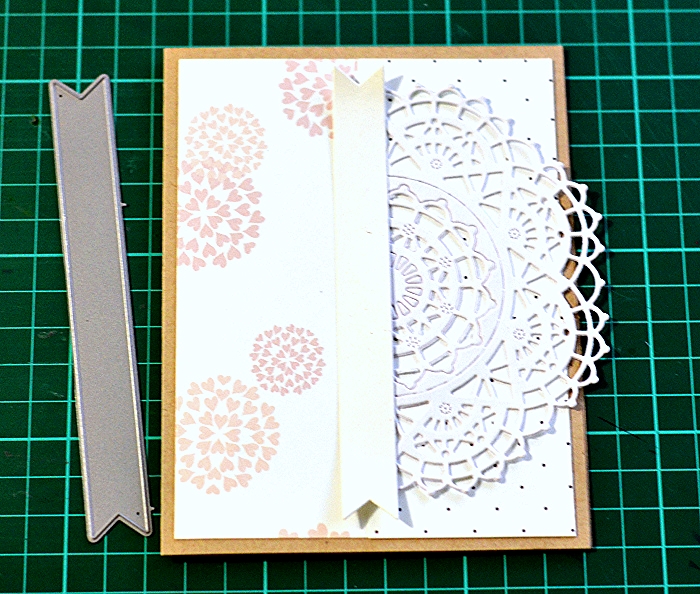
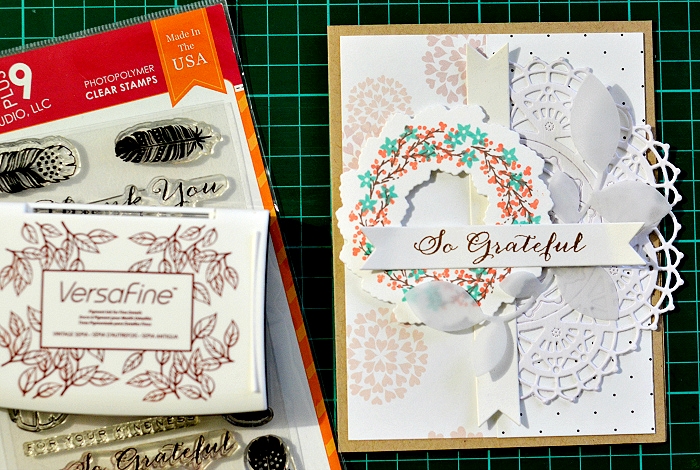
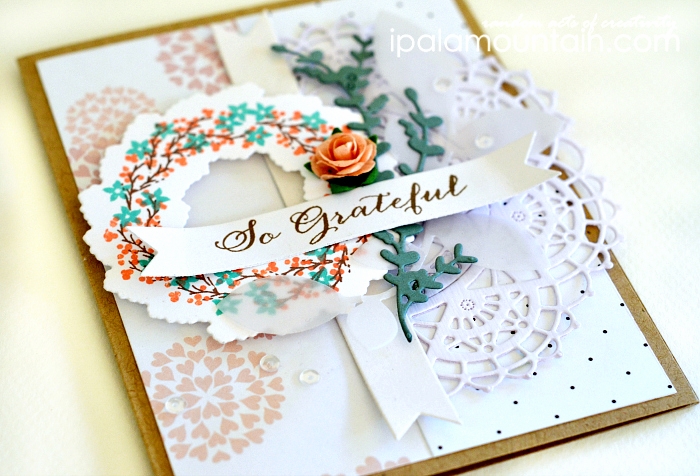
I die cut the Nautical Wheeler Doily from Cheery Lynn, cut in half and adhered to the card. Then I used the biggest banner from Banner Trio Die from WPlus9 to add the vertical element. Note: I used a variety of white and cream cardstock scraps to die cut the elements in. You can see the variation in shade on the subsequent photos. I’m not a fan of predictability and all about frugal, so if it means using up those scraps and giving the card a fun twist while doing so, I’m there.
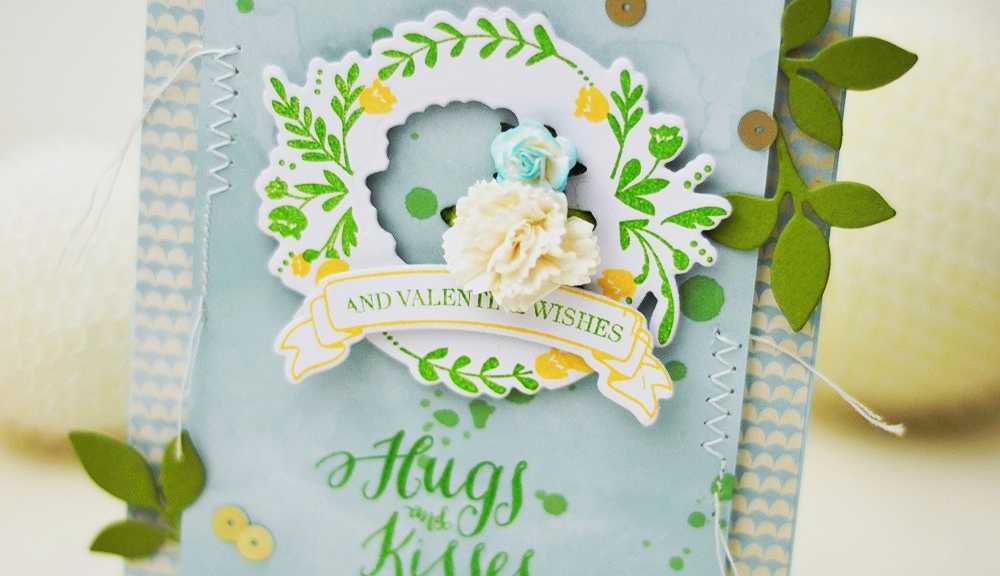
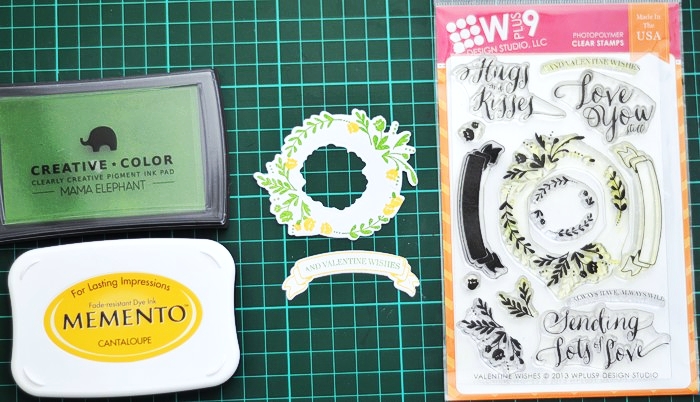
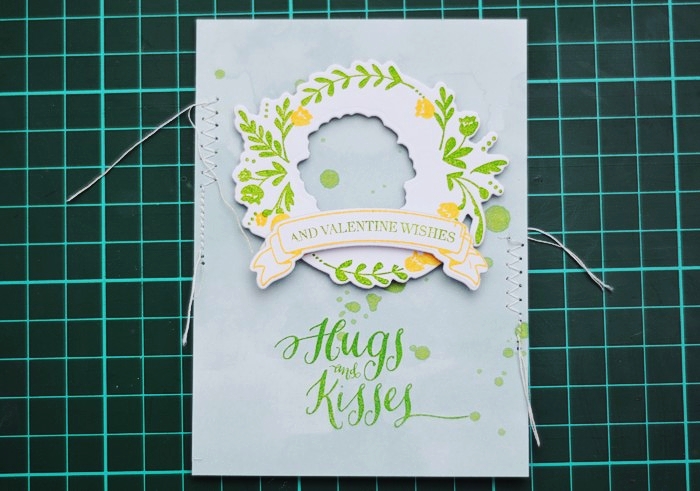
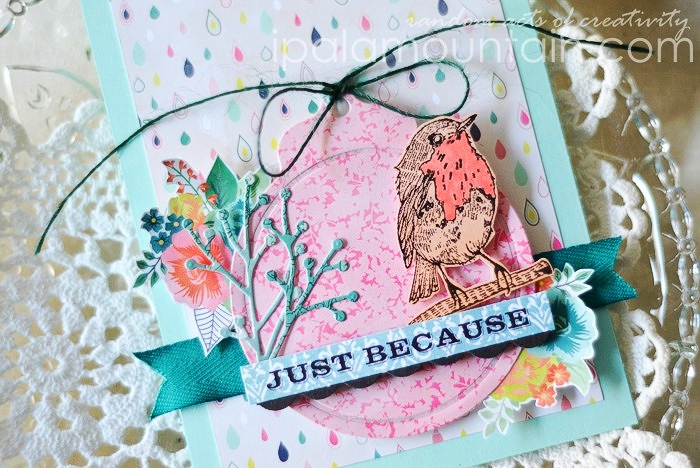
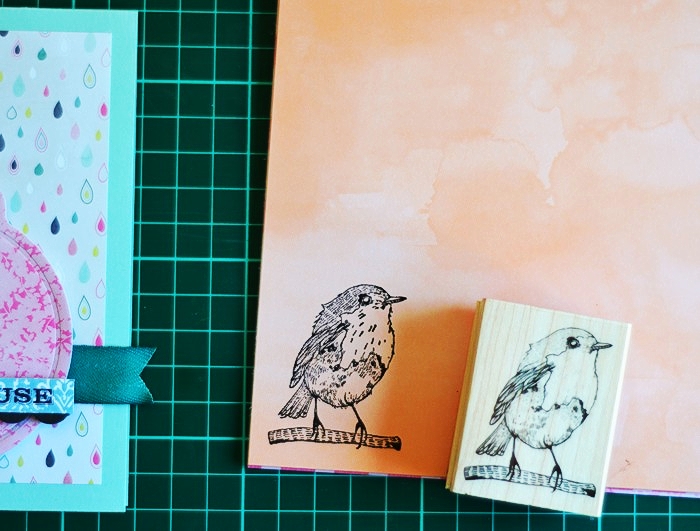
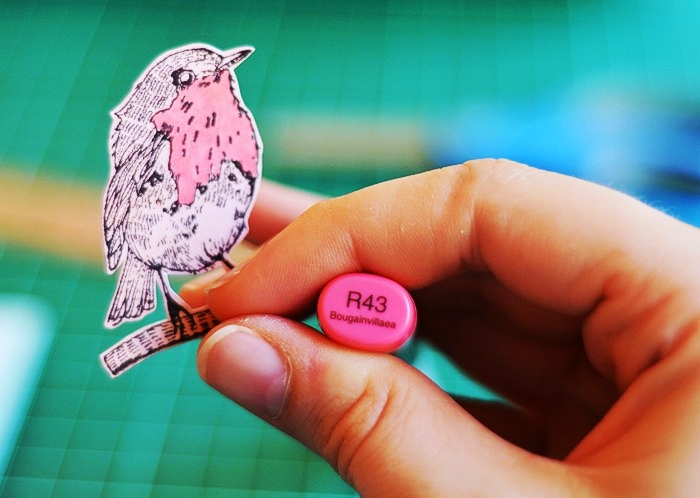
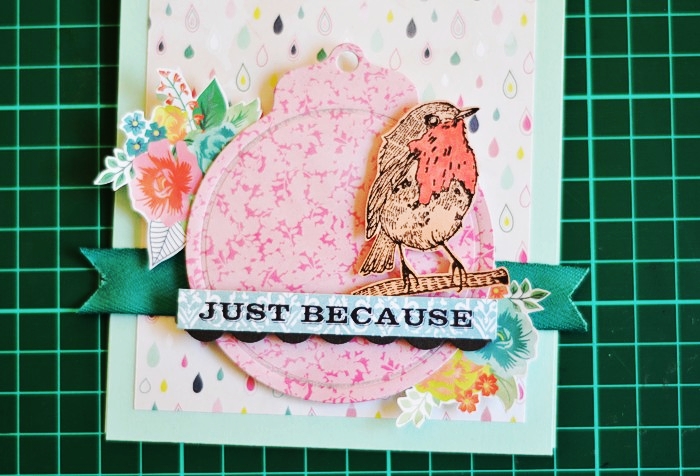
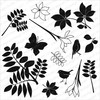
I used the Woodland Wreaths stamp set with coordinating die (WPlus9) to create the wreath. I stamped with Pure Color inks.
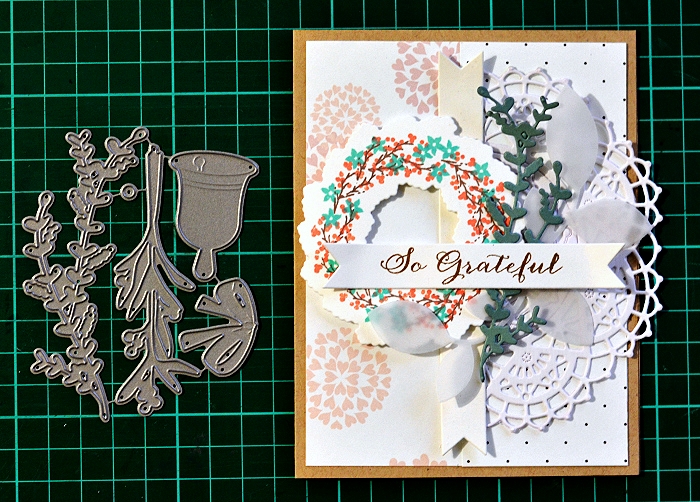
I mounted the wreath on the card and clustered some vellum leaves on its side, which I die cut with Simon Says Clustered Leaves die.

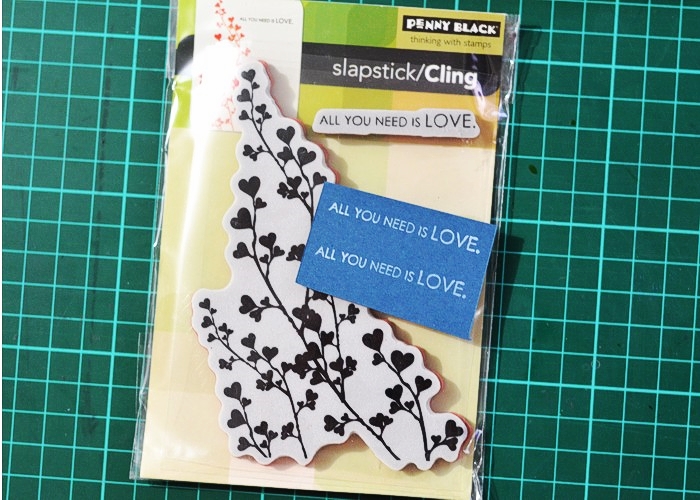
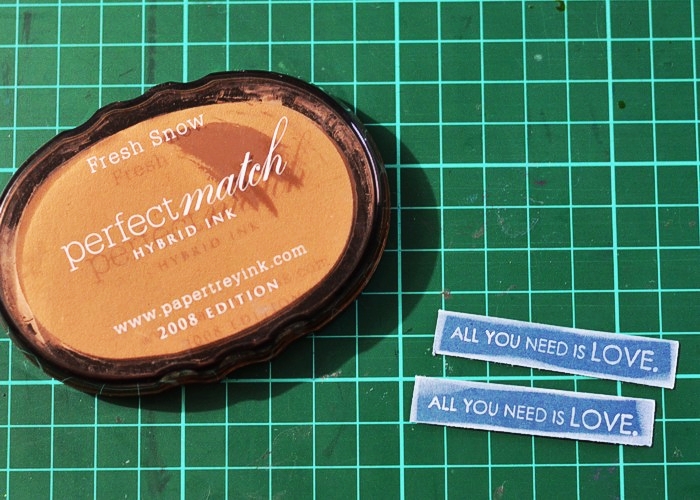
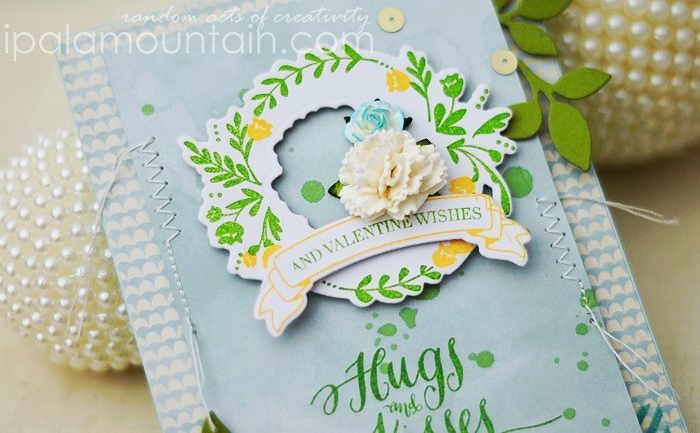
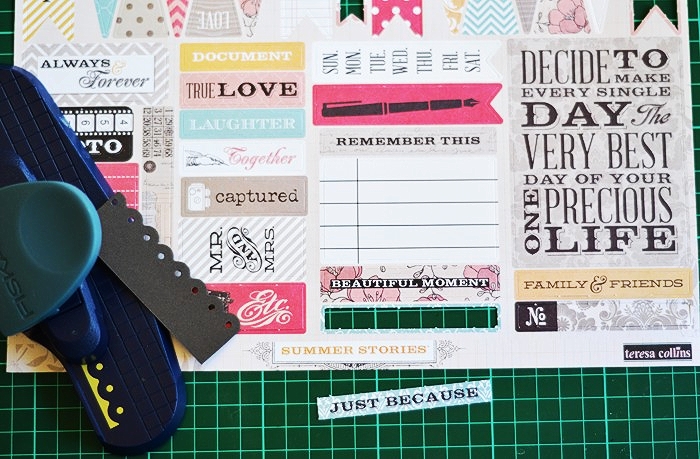
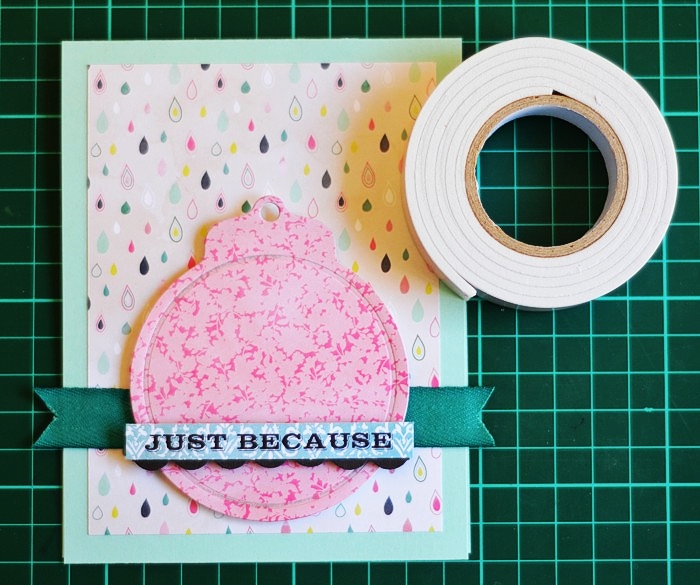
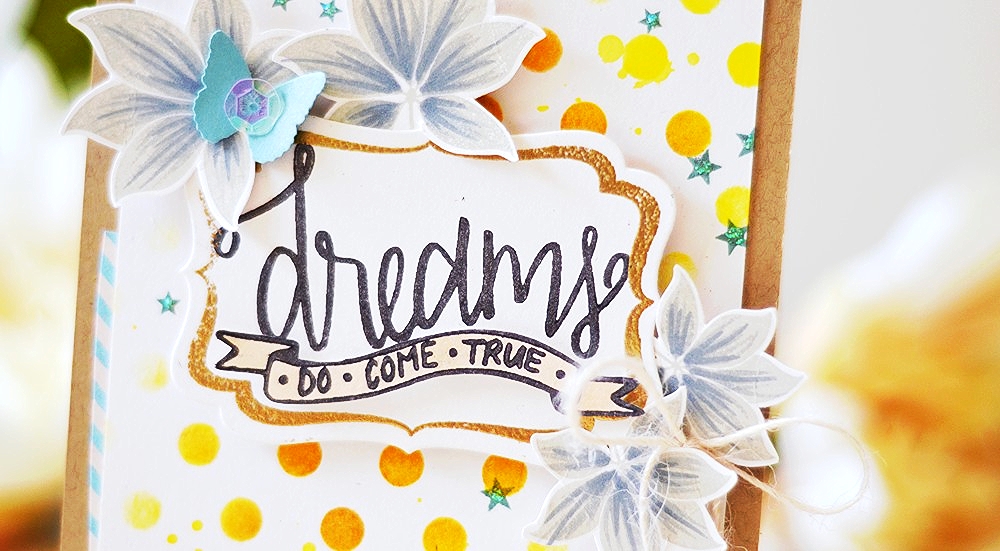
Then I die cut another banner in smaller size and stamped the sentiment from Fanciful Feathers. I placed the banner across the card using dimensional tape, like I did for the wreath, and covering the unsightly parts of the clustered leaves.
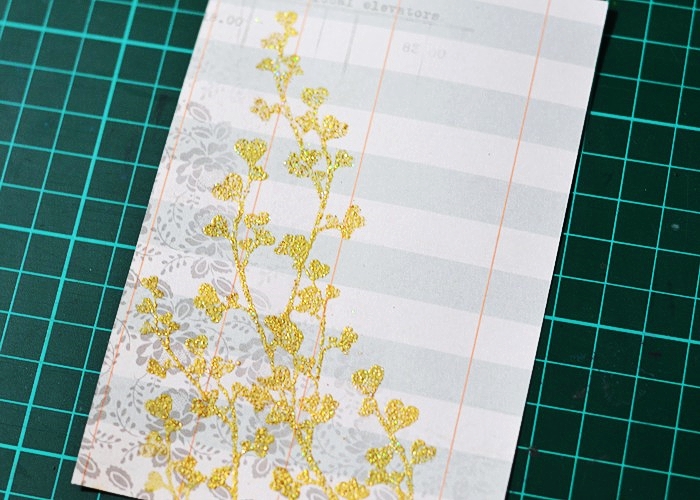
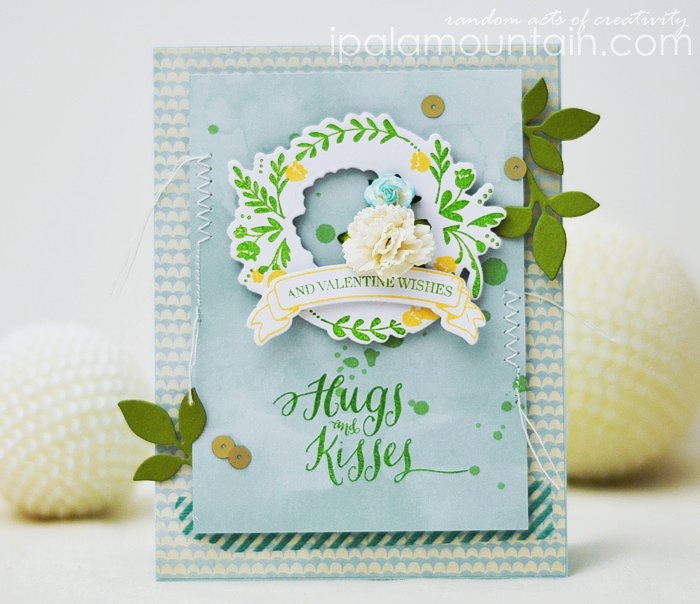
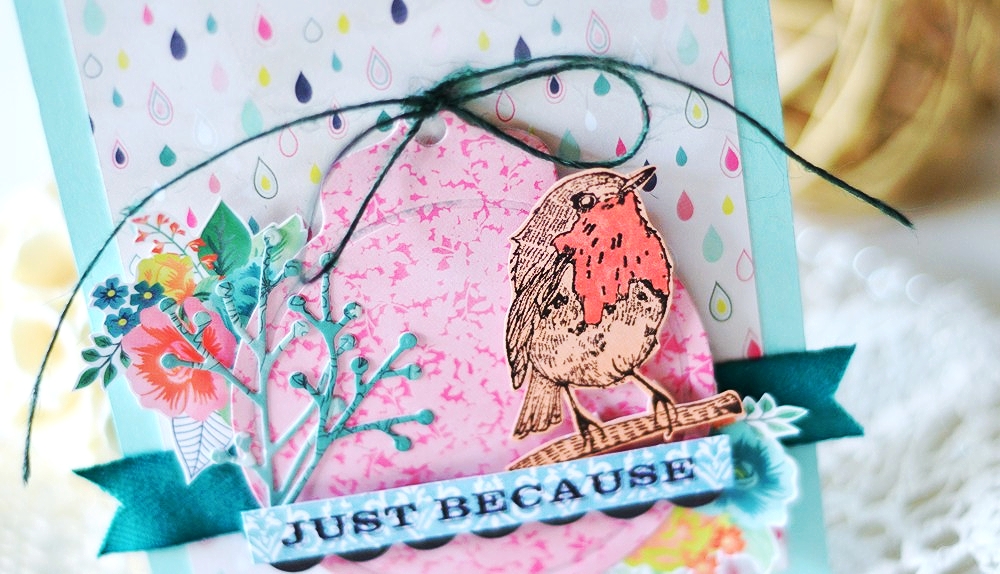
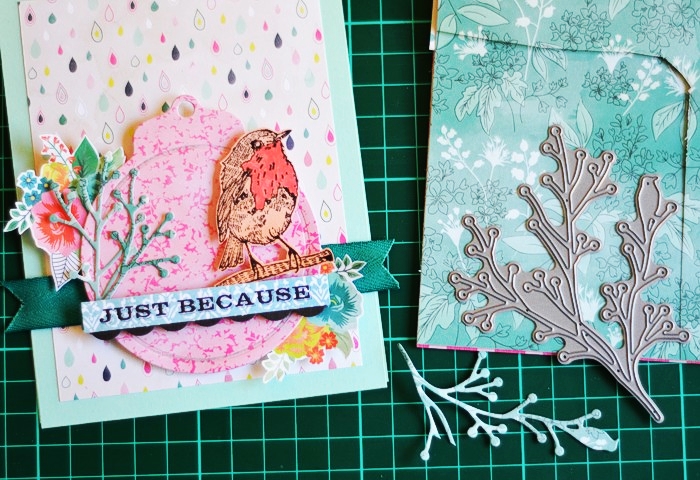
Next I used my favourite, realistic branch die from Under The Mistletoe die set, to add a deep teal element to the card which compliments the flowers on the wreath. The choice of the colour to go with pink & peach on my card, came from the paper pad I used but I ended up adding it in other ways myself.
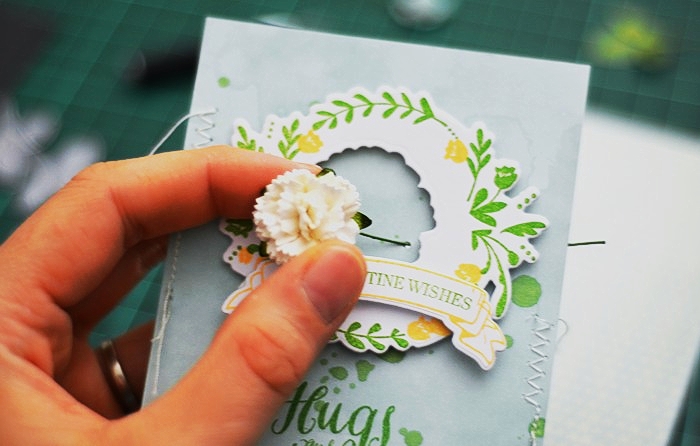
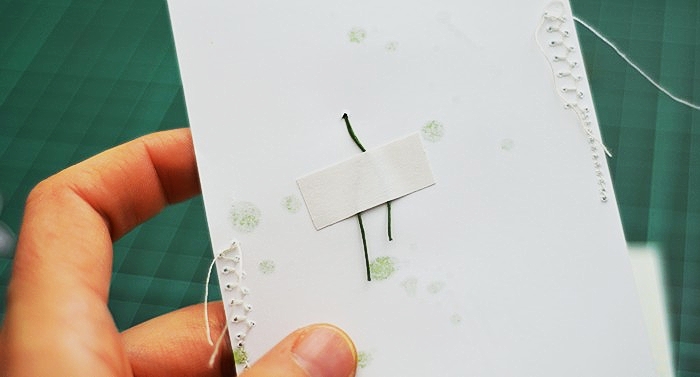
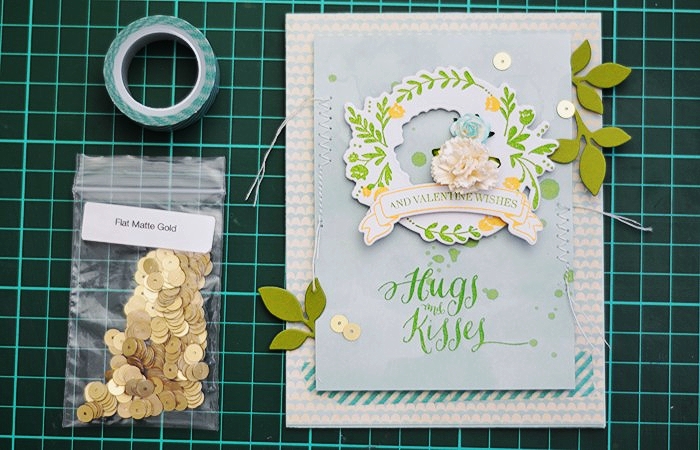
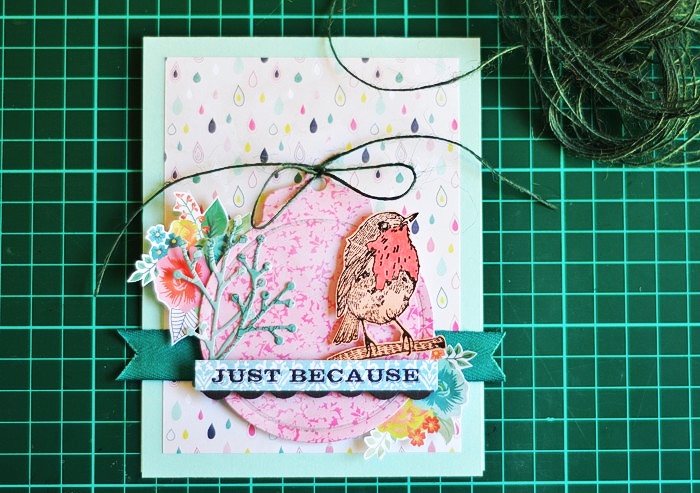
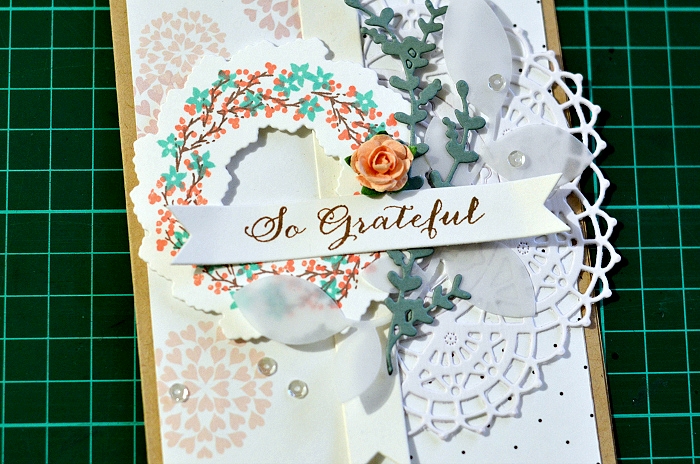
Lastly, I added a few clear sequins and a rose, creating a bit of an extra ‘oomph’. Voila!
Do you like it? I do! I hope you enjoyed the tutorial and of course I’d be happy if you tried the sketch yourselves! If you do, don’t forget to link it up in the widget below so that I can pop in for a look 🙂
***************************************************************************
If you would like to play along:
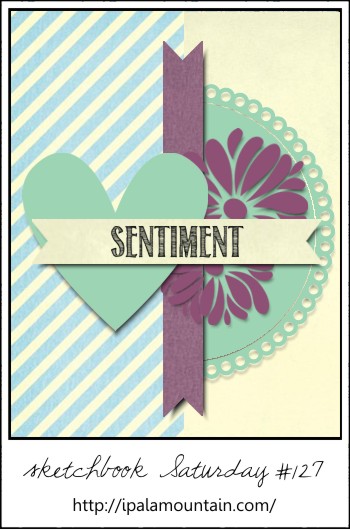
- You’re kindly asked to save the sketch image onto your computer first, and if you make a card based on it, please link back to this post.
- Share the link to your creation via the Inlinkz widget below, so that I can come and check it out!
- Share the link to your creation via the Inlinkz widget below, so that I can come and check it out!
Perks:
- A new sketch is posted every other Saturday night (ideally but I might be late at times), and the link widget is open for two weeks. However, you’re welcome to play any time! Just leave a link in the comments section and I’ll pop in to see it.
- Every now and then, I’ll be inviting one person who uses my sketch, to join me for the next one!