Aug 23
Hello! I’ve been quiet on the blogging front in the past couple of weeks and I decided that’s how it’s going to stay for the time being. While I’m be no means abandoning my passion for paper crafting, blogging is what needs to be put on a backburner. See, it’s just so much work I can’t justify doing so often any more. I think at least half of my blog visitors have blogs themselves so you know what I mean. Perhaps it’s easier, quicker for some people but for me making a card + putting it up on the blog is half a day’s worth.
So I’m going to downsize to an extent I’m comfortable with. I’m still aiming at posting several times a month but nothing like what you got used to in the last years. My family, my own choices and my comfort should always come first. I found myself trying to deliver for every reader of mine, any request put before me, etc. While I value your keen interest and it’s humbling to know that you want more from me, it’s easy to forget that this blog is for my own enjoyment, for ME. And I should be there for my kiddos and my husband first, and not at the desk typing away every day.
Thanks for understanding!
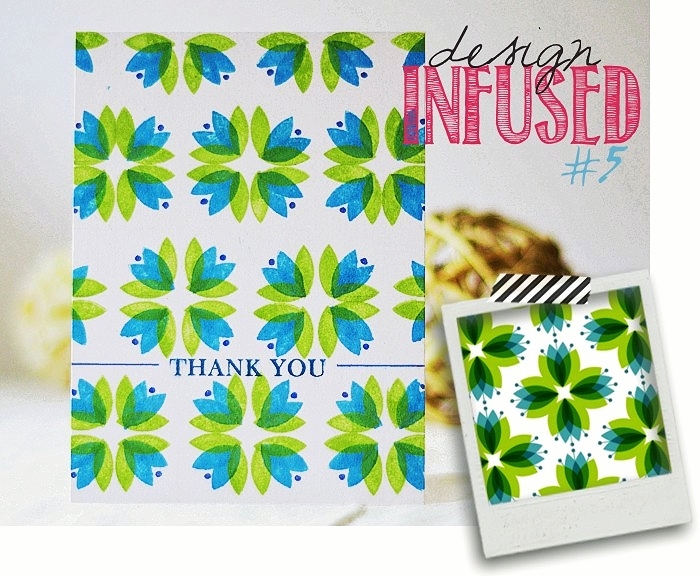
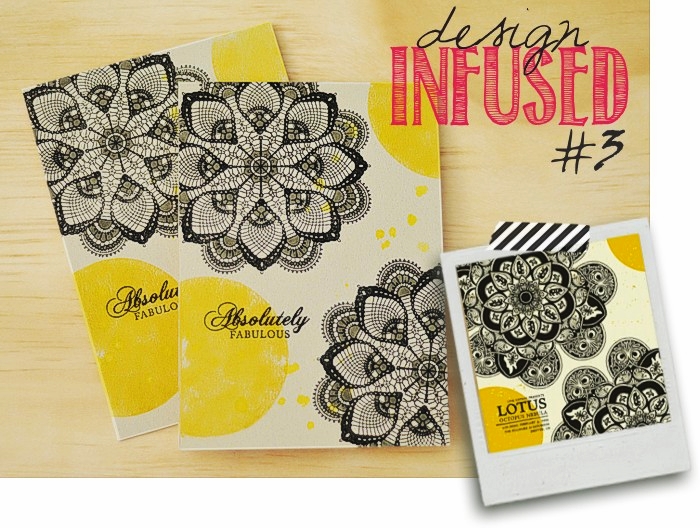
That being said, I hinted on Instagram a few days ago that I’m reviving a neglected feature on my blog with a new installment, and it’s Design Infused!
The reason I left it unloved for so long was that I foolishly thought I’d spin it off as a video feature. Nope. NADA. Me and videos just don’t go together, sorry folks. Not now. It’s SO much work that it makes my head spin just thinking about it… I honestly don’t know how the others do it, sharing a new video every other day and then still claiming to have a life, but maybe I’m just especially challenged by this particular medium.
So if you will forgive me for reverting back to the old scheme of things, here’s today’s inspiration and my spin on it.
What is Design Infused series about?
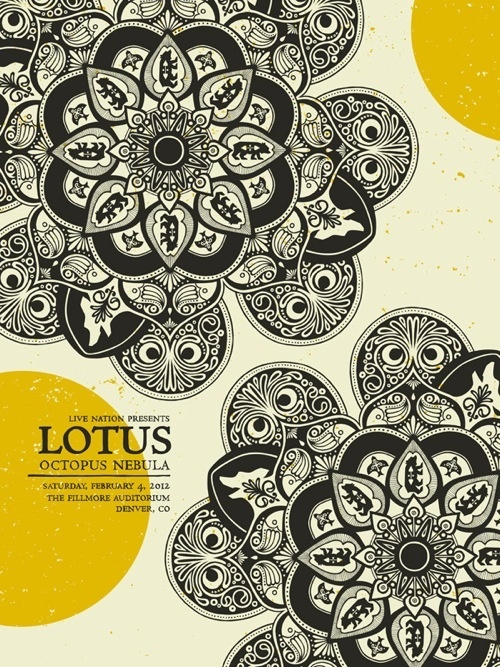
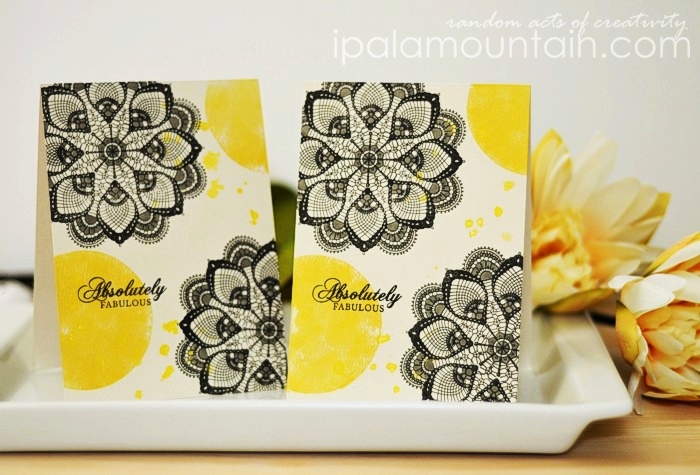
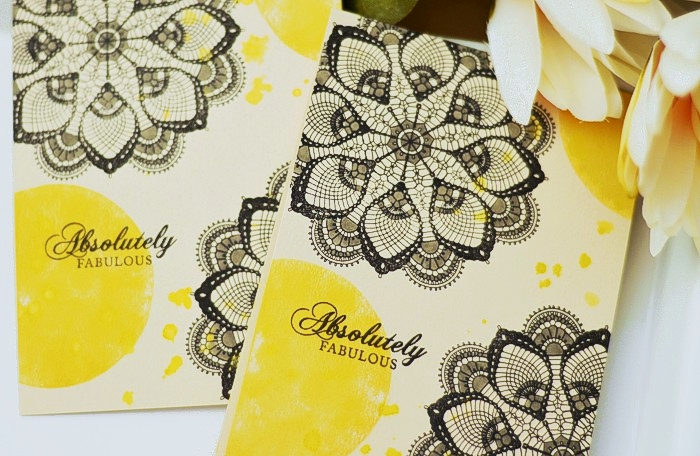
I take a design piece that inspires me (be it stationery, clothing, packaging, etc.), and translate it into a custom paper-craft design, using predominantly stamps and ink. I take great joy in letting what I see around, influence my designs, and I want to show you how easy it is. I collect the inspiration in my Pinterest board especially created for this purpose, and pick a piece from the lot for each installment of this feature.
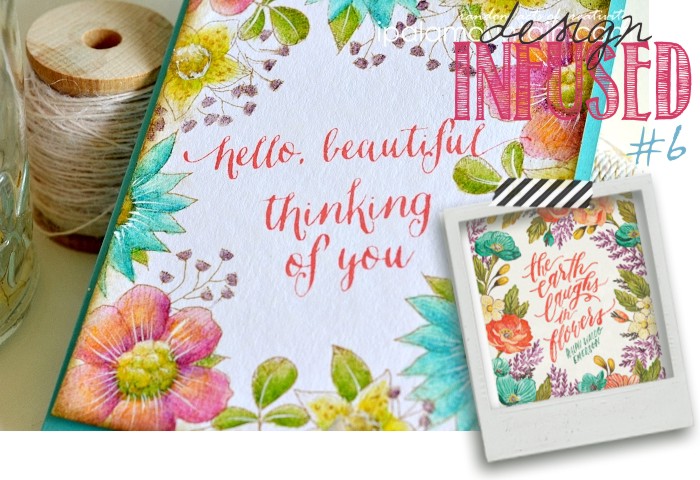
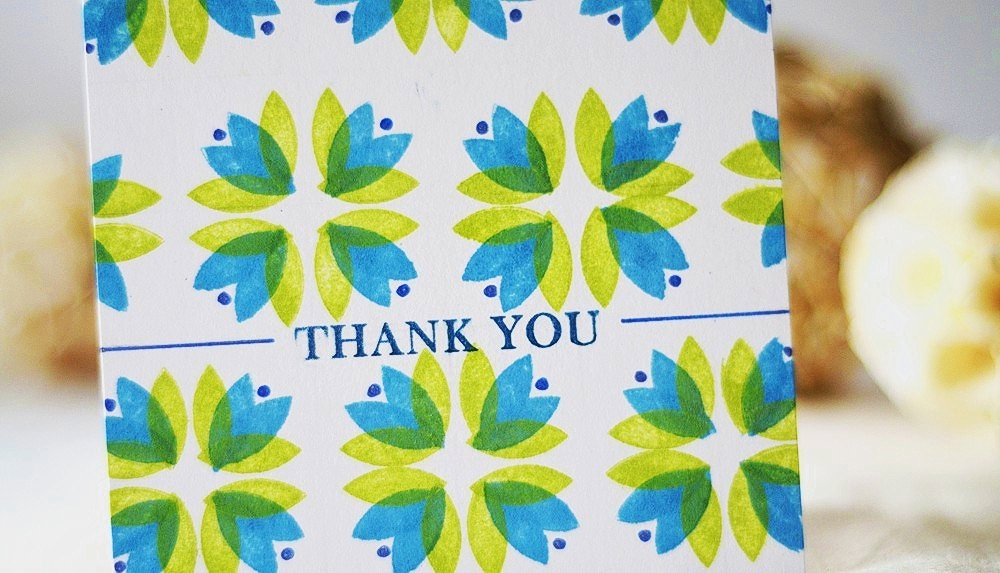
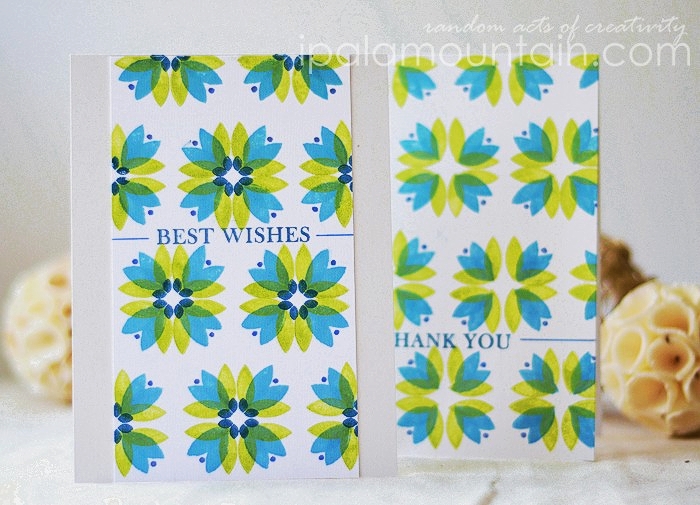
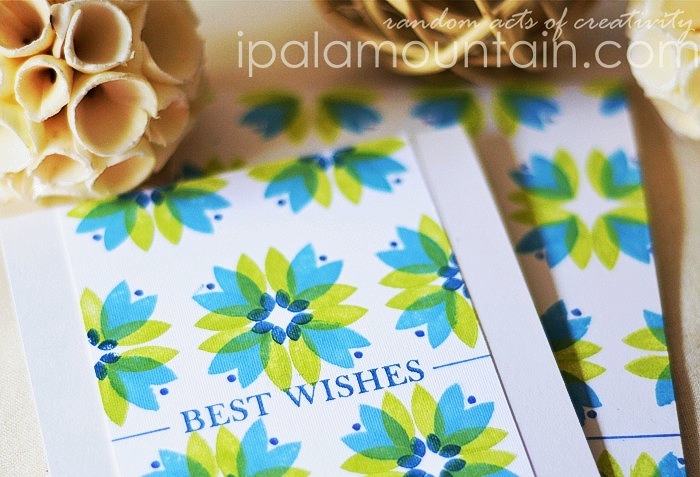
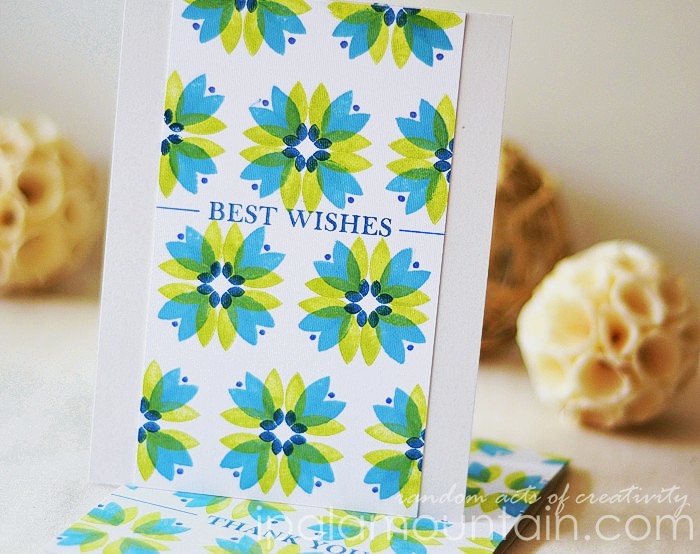
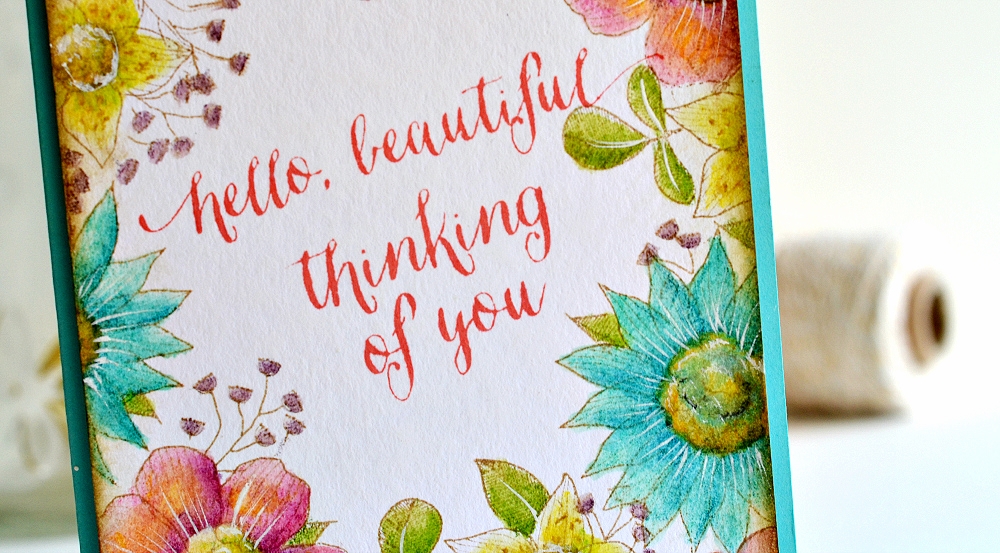
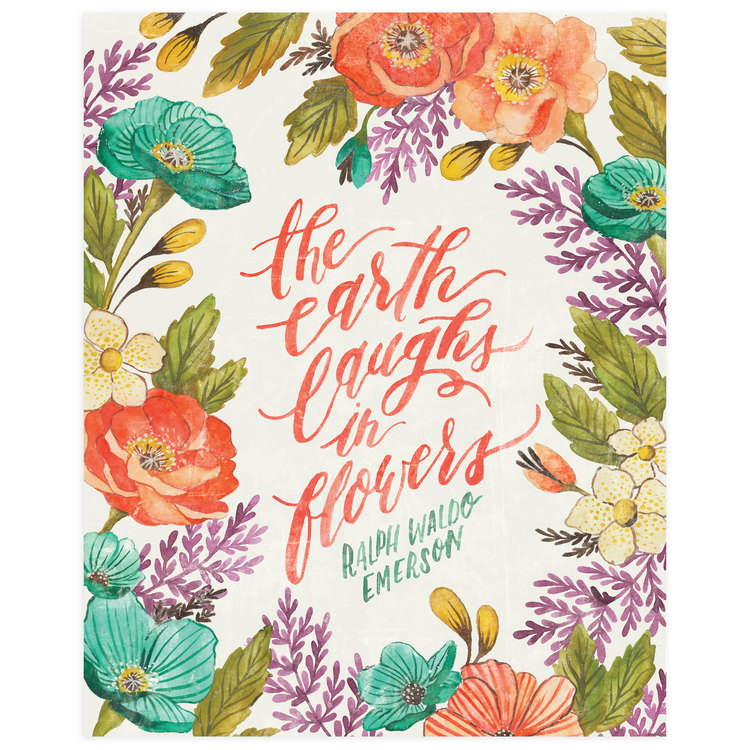
Here’s a better view of the inspiration, a watercolour poster from Wildfield Paper Co. (see it HERE). I’ve seen cards with floral design arranged around the central sentiment many times before, and don’t ask me why I waited this long to recreate one myself… Once I saw that poster I knew this is the one to kick start my mojo.
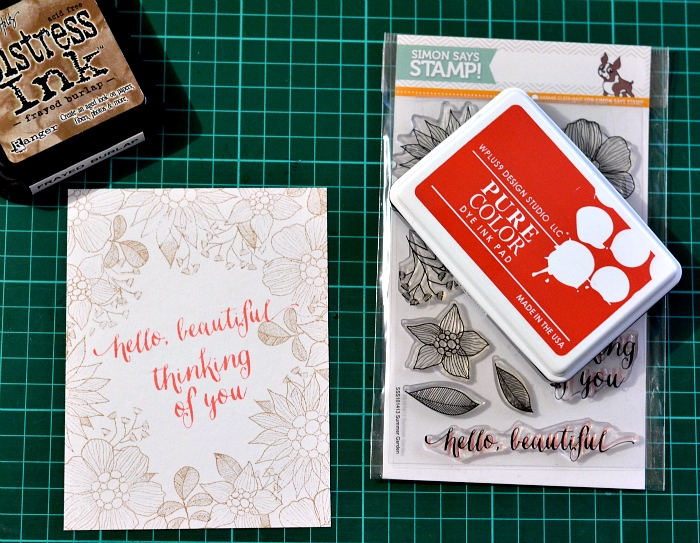
I reached for one of my very favourites of this year, a Summer Garden stamp set by Mama Elephant / Simon Says Stamp. I needed a line art design that I could filled with watercolour, one that is freehand, whimsical and charming. I was also looking for a stamp that would remind me of the purple leaves in the poster which I’m especially fond of, plus of course a great script font, and that one set ticked all the boxes.
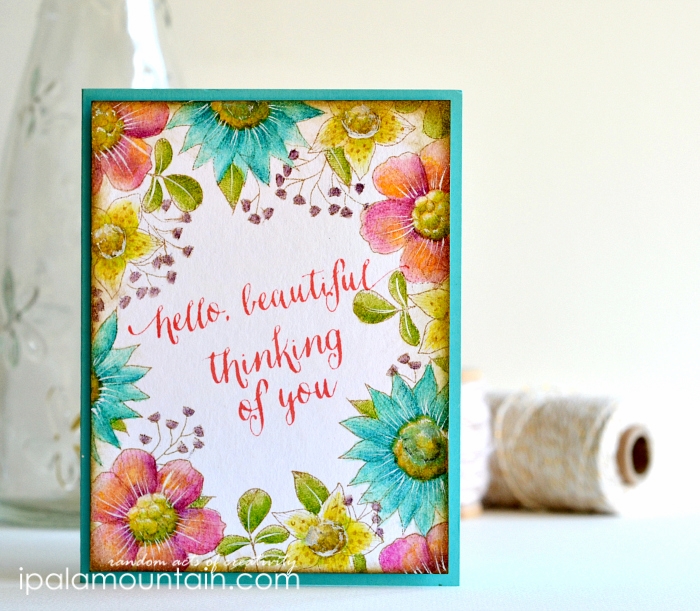
I started by choosing the perfect spot for the sentiment, and so I stamped it first. Then I chose a semi-light brown of Frayed Burlap Distress Ink to arrange the flowers and leaves around the card.
When working on creating a larger scene with smaller stamps, start from the largest designs (placing them at strategic places) and then add the fillers.
I watercoloured the scene with Derwent Inktense pencils and an aquabrush (water pen). I know I said it before, they’re pretty incredible. They may not give you the smoothness of paint but their blending abilities are superb, they’re so easy to use and they come in fantastic colours.
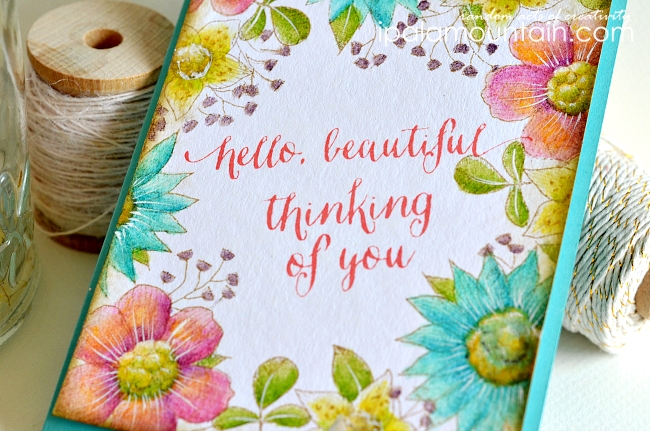
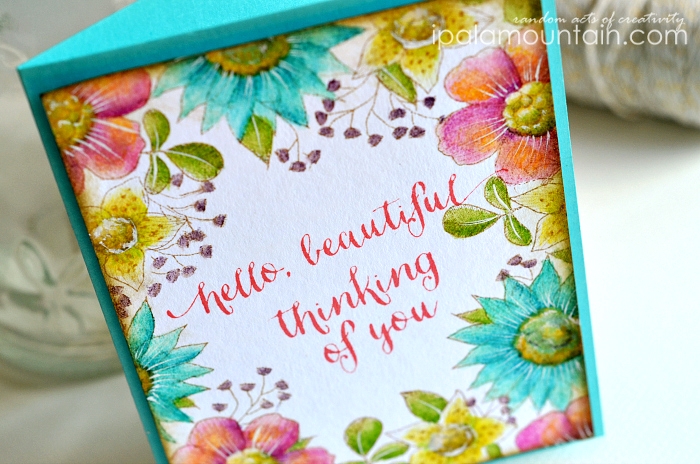
I added white accents to the leaves and flowers, with Copic Opaque White Brush Applicator. This stuff is gold! Although it’s best to stick to straight-ish lines when using the applicator - you can see a messy job in places where I was trying to create dots or dabs rather than strokes 😛
I hope it tickles 🙂