Aug 17
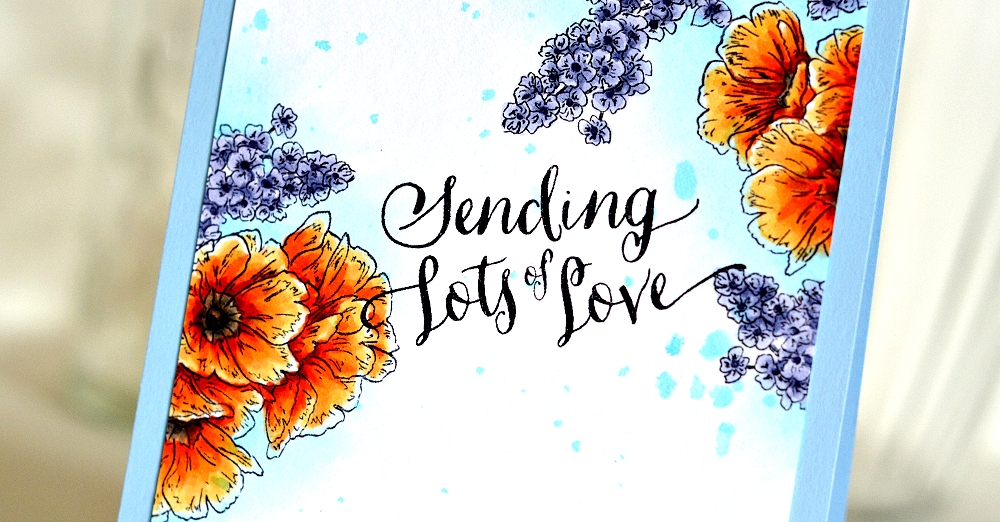
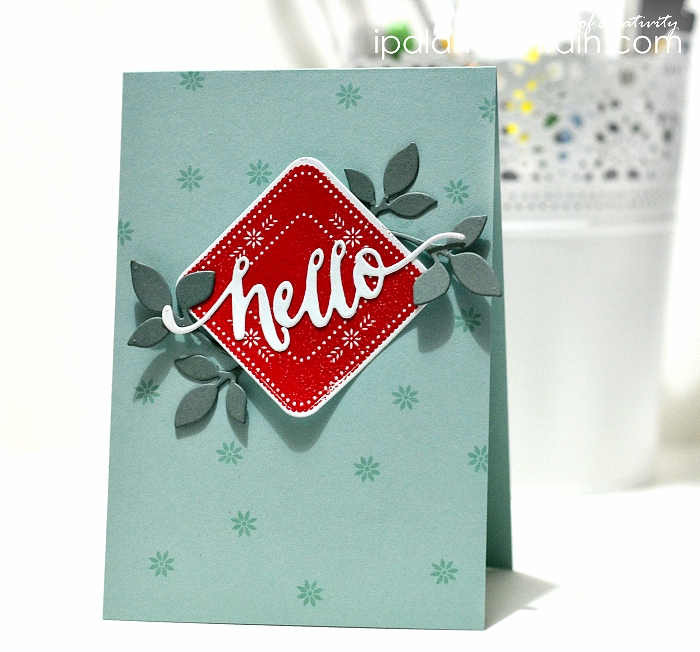
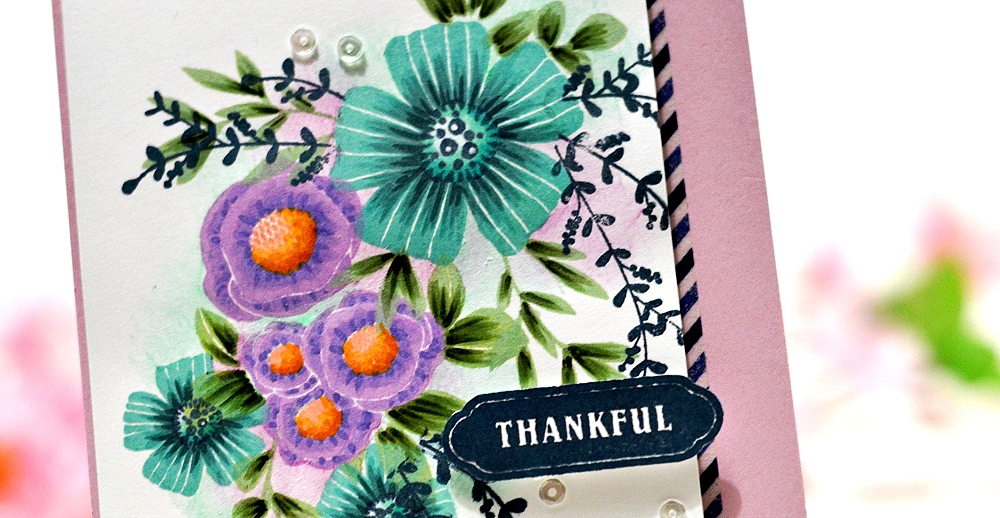
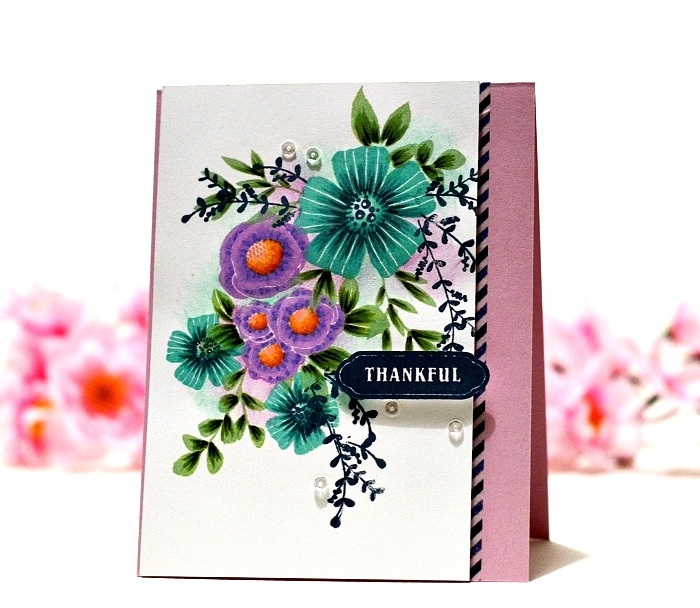
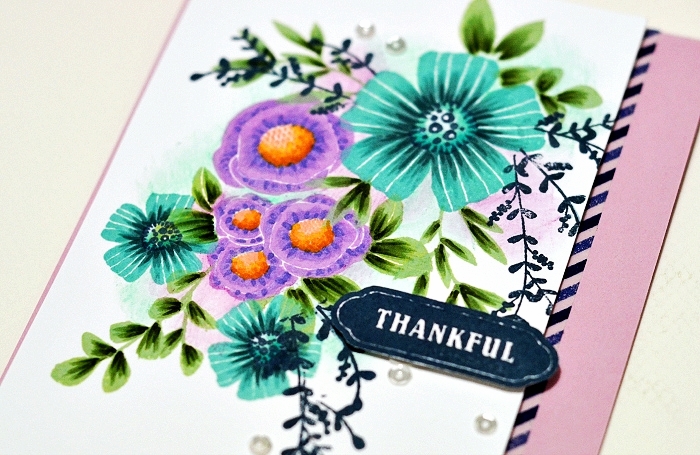
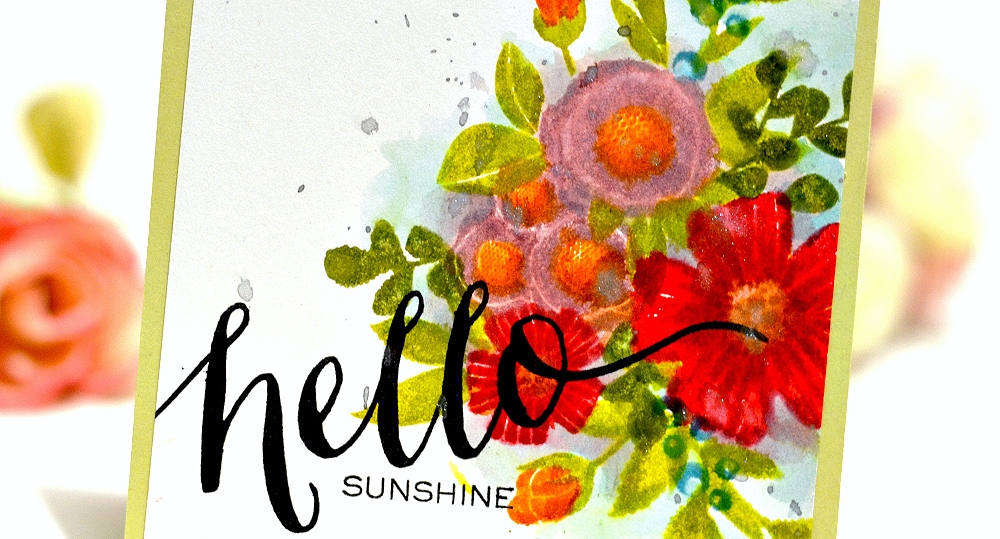
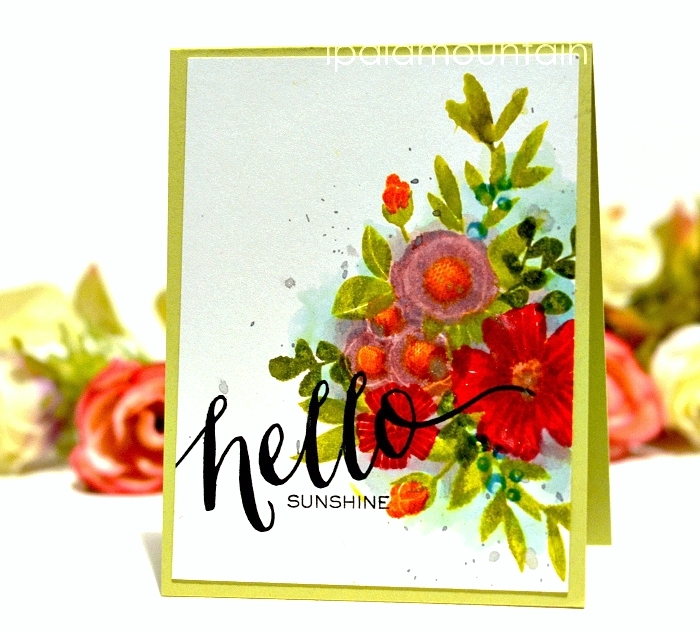
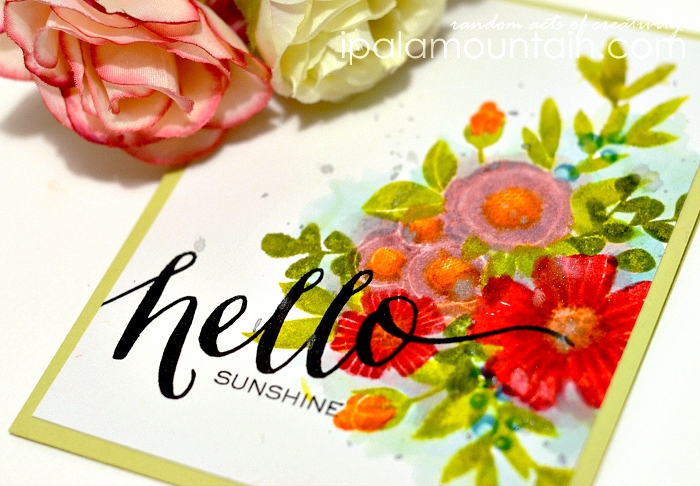
I’m back with more WPlus9 projects today! I’m loving the new release and I having lots of fun with it despite the creative stupor that still haunts me and a lack of time. I pulled out the Flora & Fauna 2 stamp set today which I was itching to colour and believe me, it was hard to resist watercolouring! Thank you so much, Dawn. HA! Next time. For this card I used my trusty Copics.
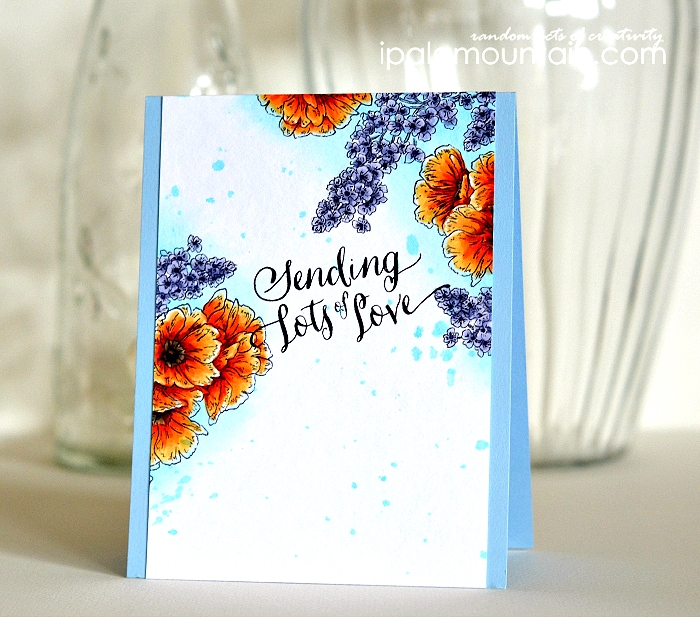
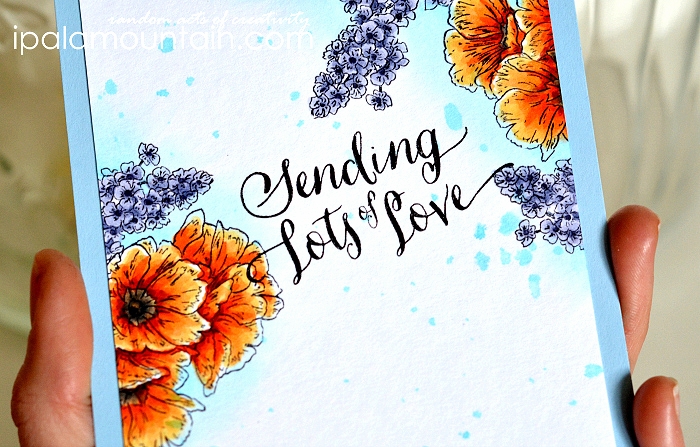
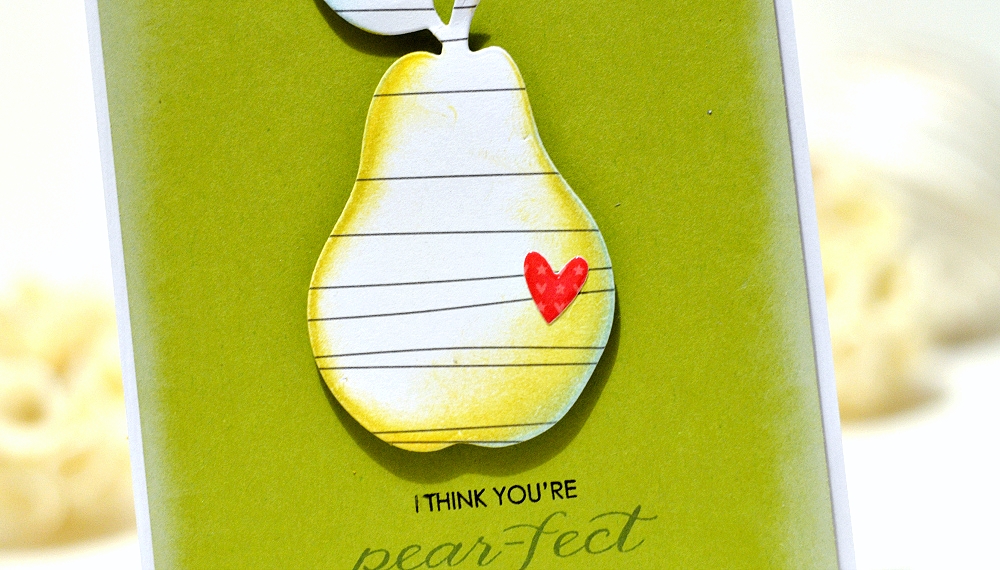
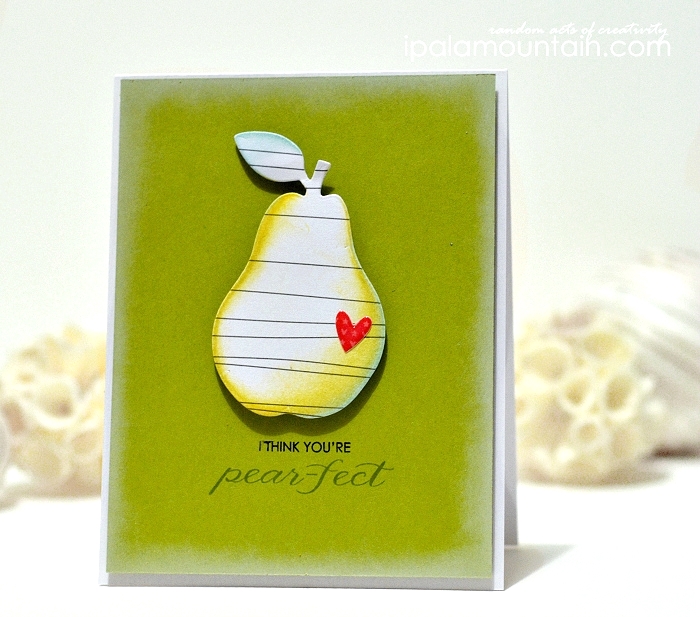
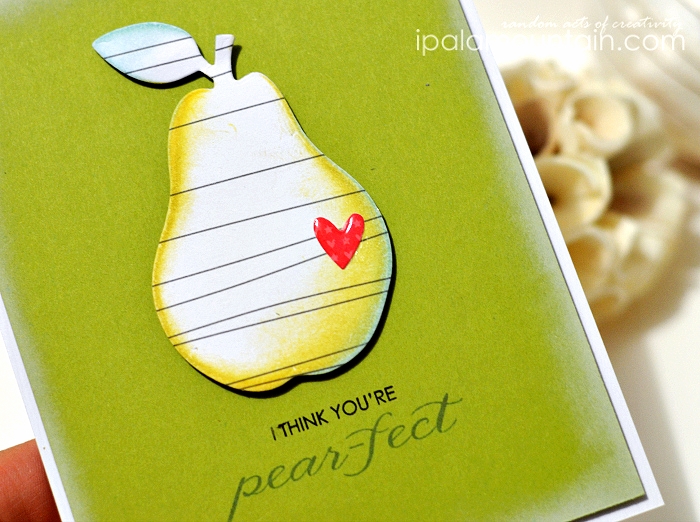
I created ambient shading around the flowers using a light blue marker and added a few ink splats. This gorgeous sentiment is a part of the Valentine Wishes set.
Here are the Copics I used:
orange flowers: YR31, YR12, YR09, E07, W5, W7
purple flowers: BV20, BV23, BV25, BV29
sky: B0000, B00
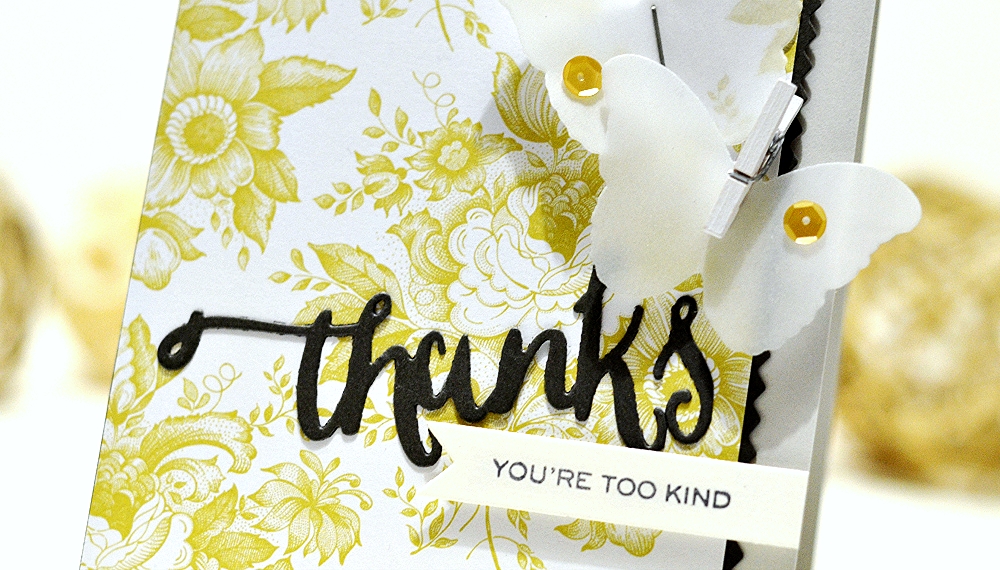
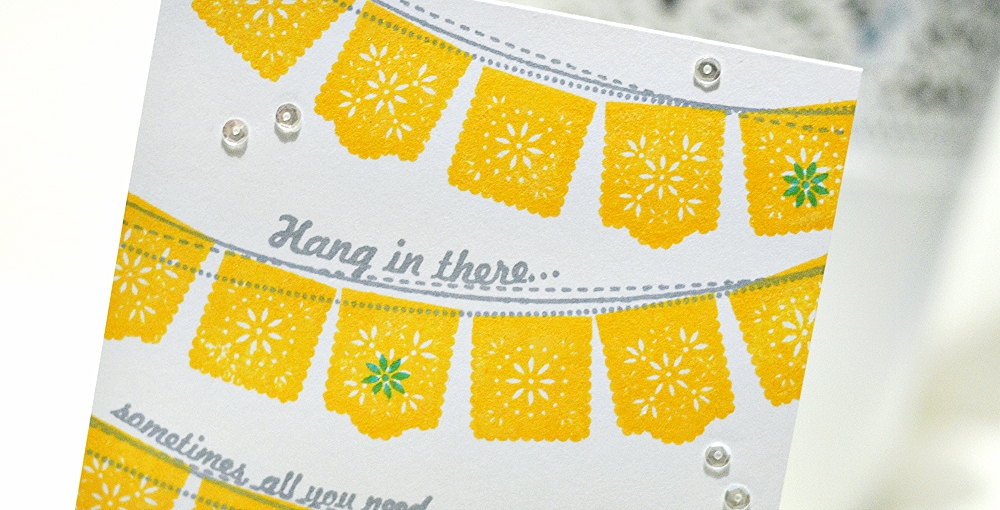
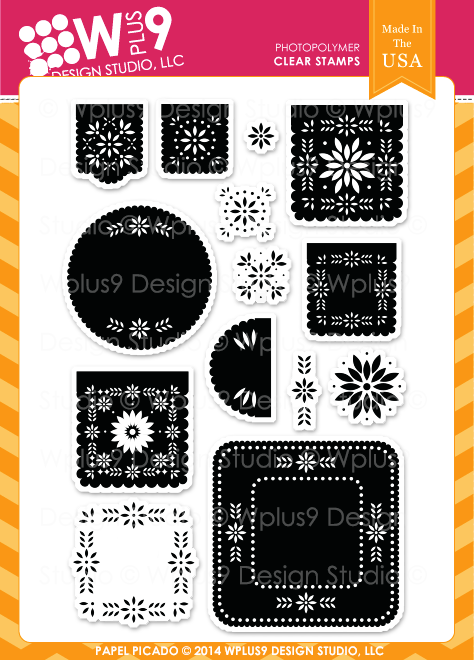
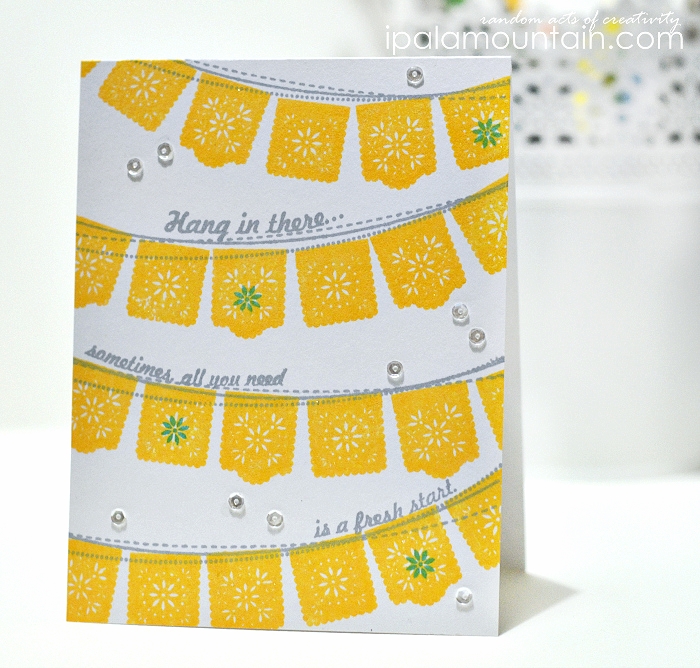
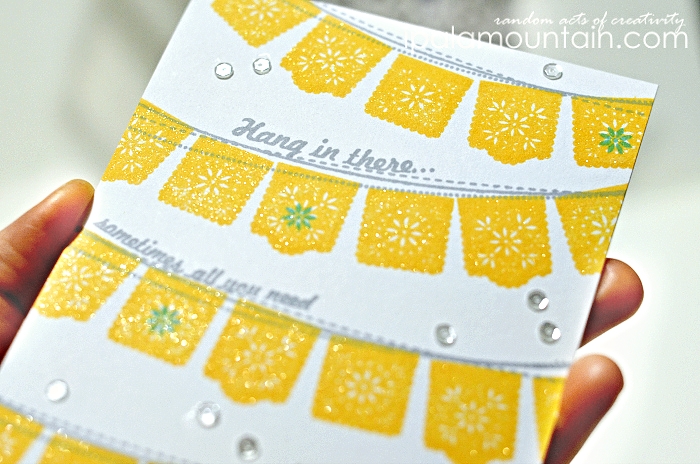
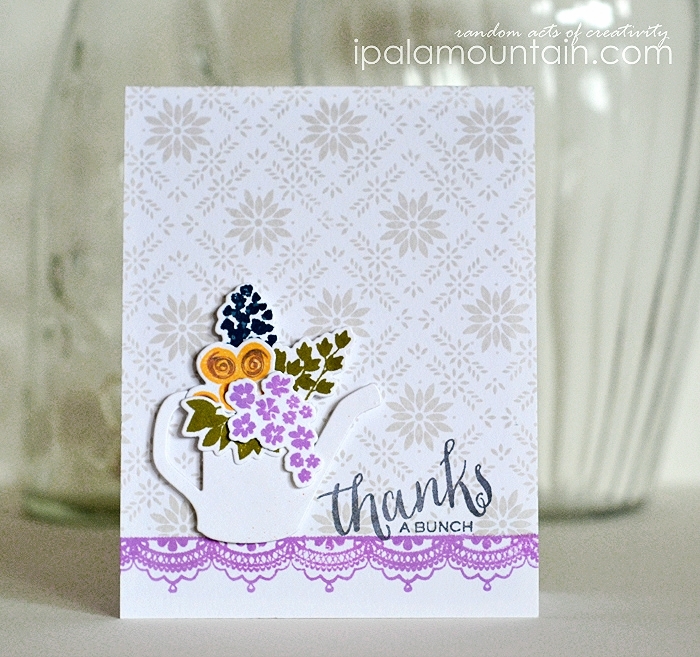
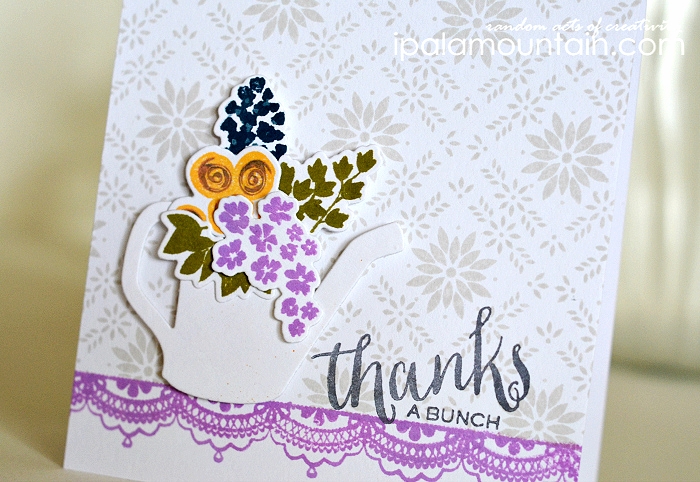
I made one more card, this time focusing on the Fresh Cut Containers stamp set with matching Designer Dies. I die cut the watering can from white cardstock and left it un-stamped, but I did stamp the flowers on the die cut pieces and arranged into a bunch. Then I popped it all into a card with the background stamped in grey ink with various designs from Papel Picado and a purple lace ‘fringe’ from Chantilly Trim. I finished the card by stamping the sentiment from Hand Lettered Thanks.
Thanks for stopping by! xx
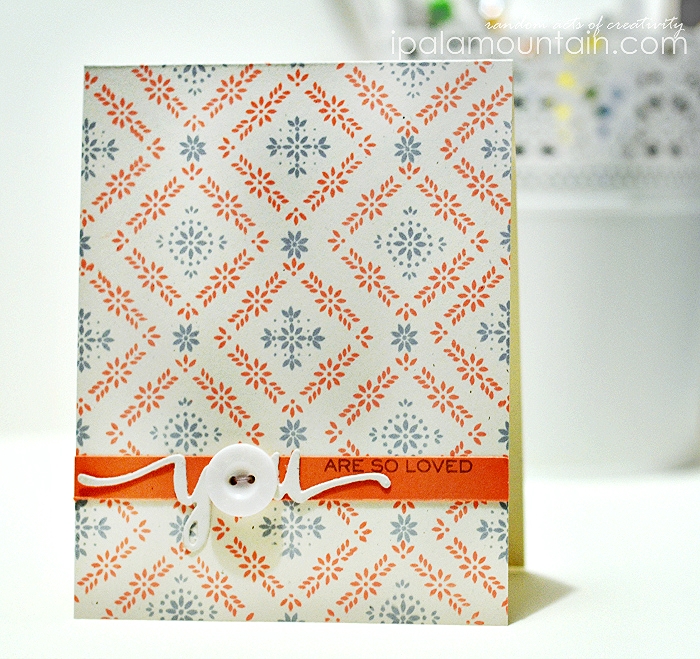
Sending Love card


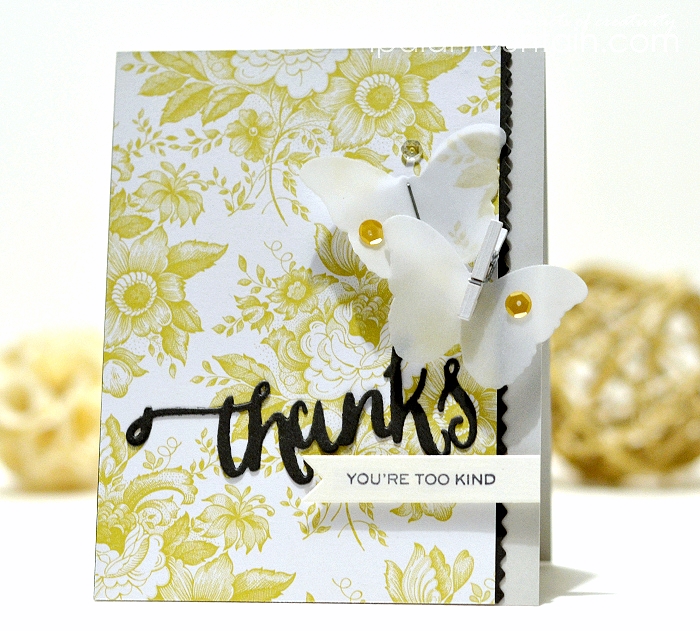
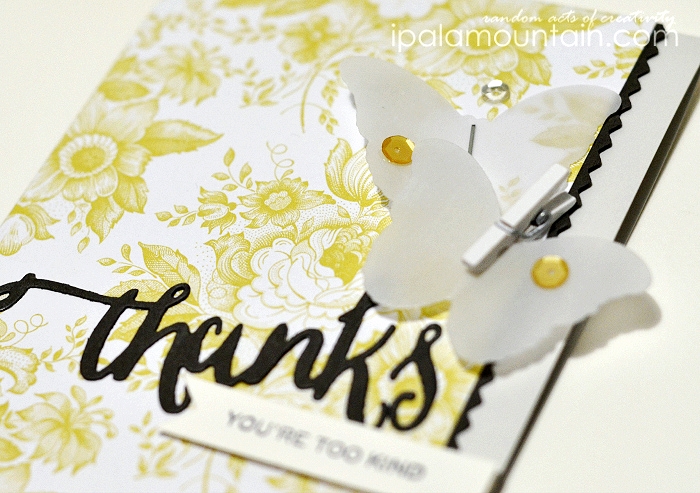
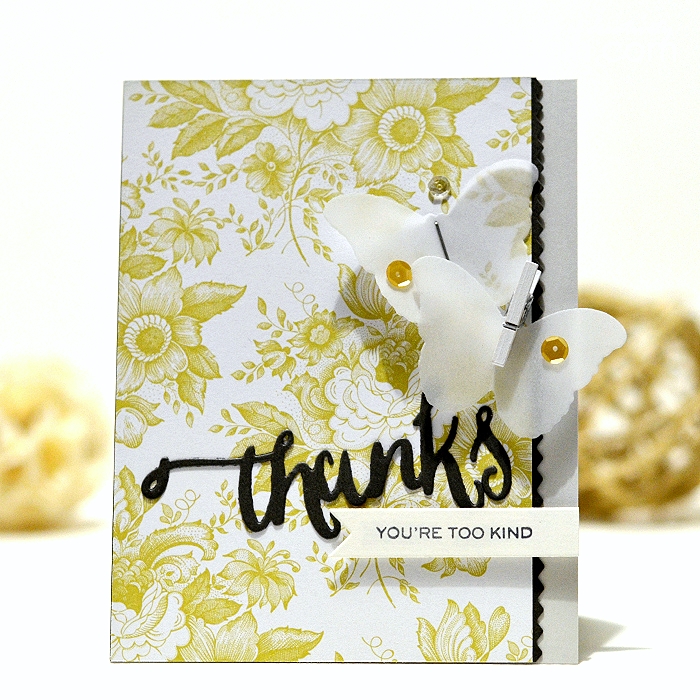
Thanks card