Feb 10
Uh-oh, I’m majorly late with the sketch, guys but I do have an excuse (or two)! We’ve been battling with some bushfire-related emergencies yesterday, scary stuff. We were safe at our place but our family living 20 minutes down the road was forced to evacuate for most of the day. So far, so good and fingers closed tightly. I’ve been also ‘entertained’ by my younger’s cold… poor thing, I dislike watching her being sick and miserable.
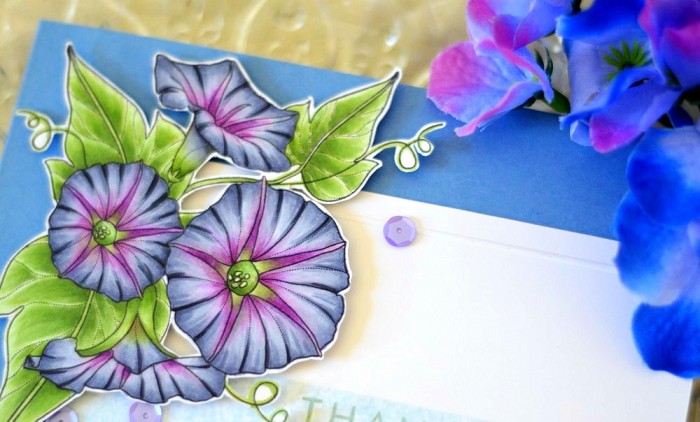
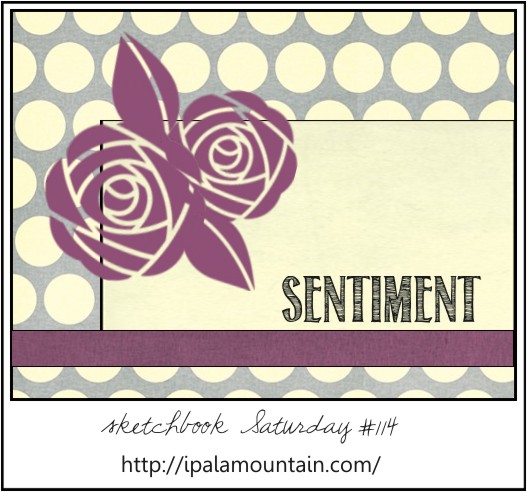
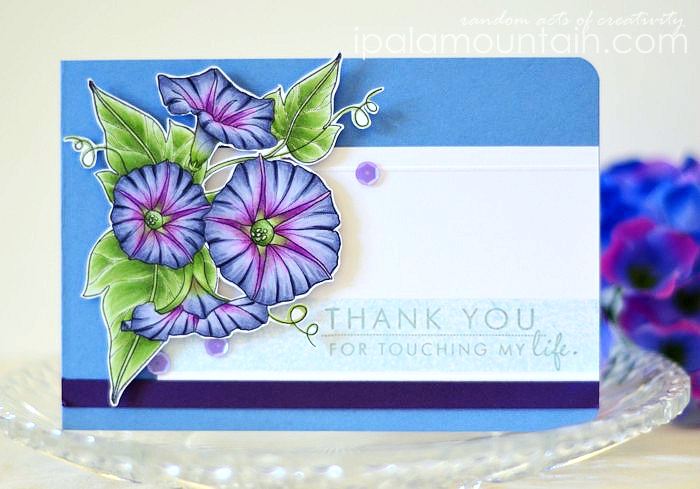
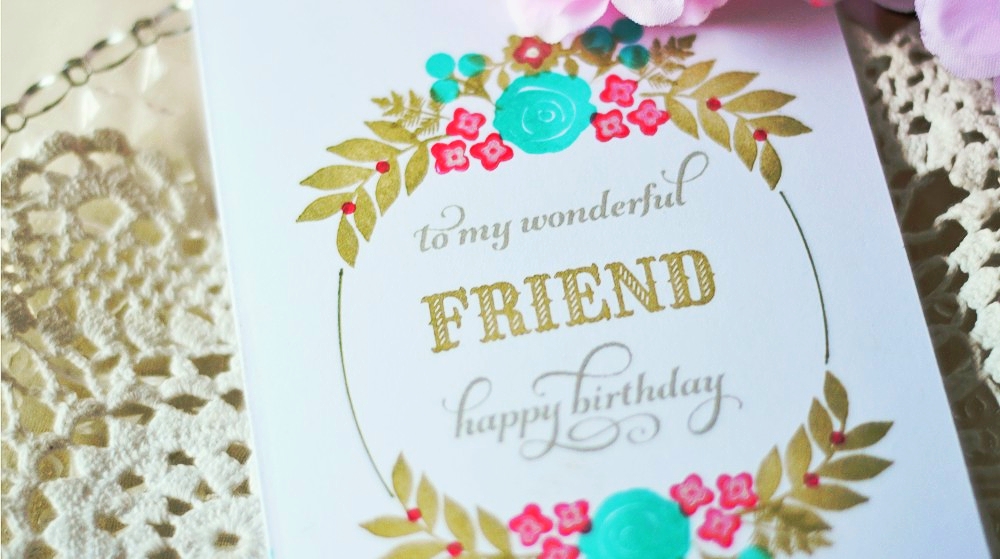
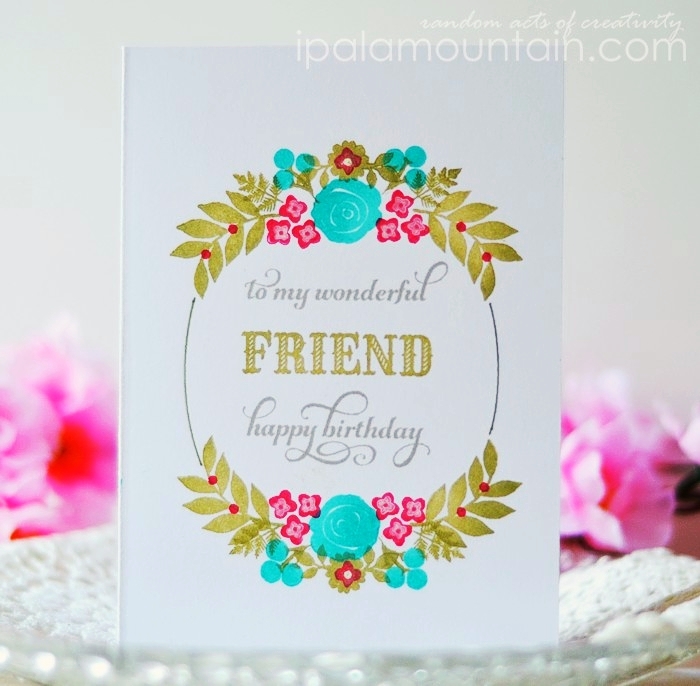
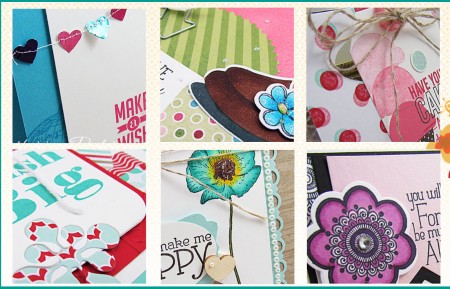
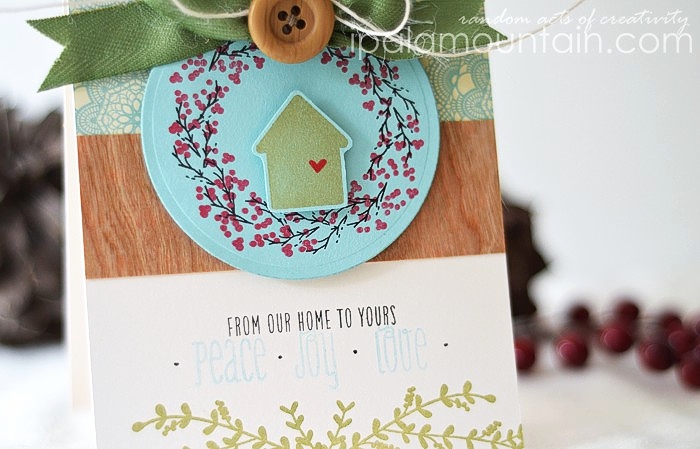
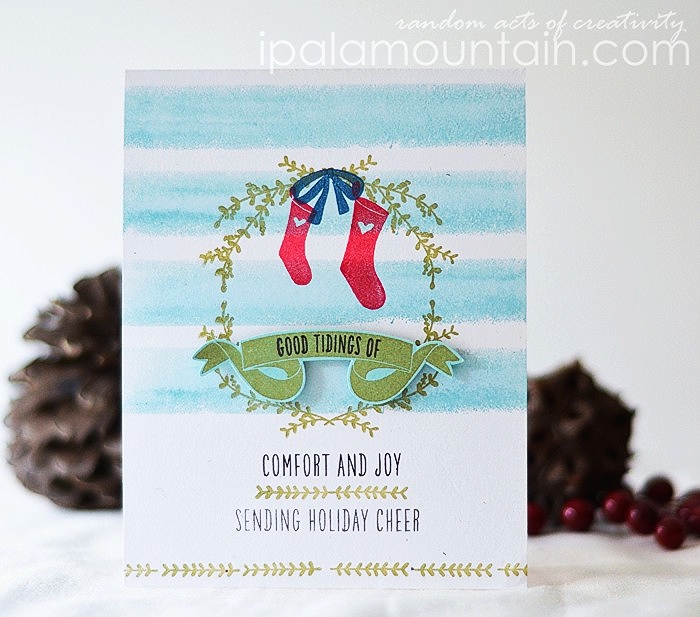
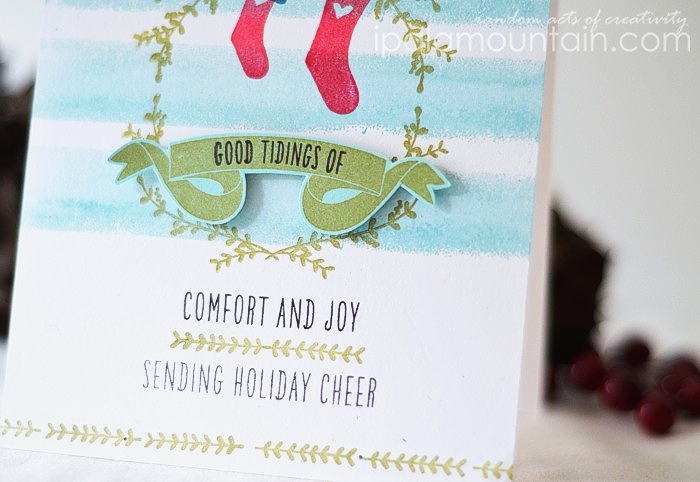
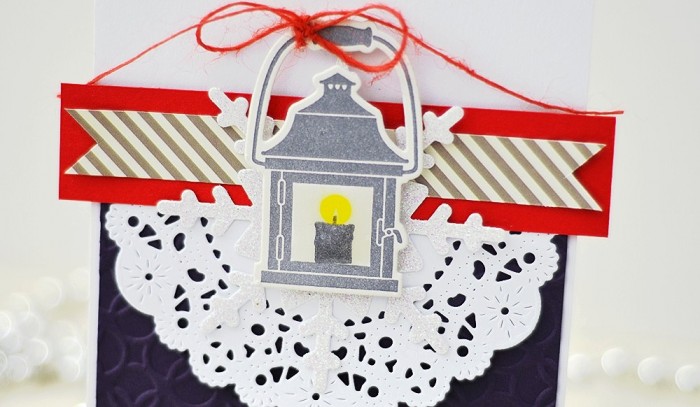
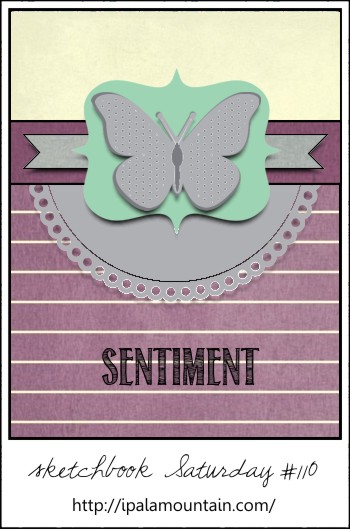
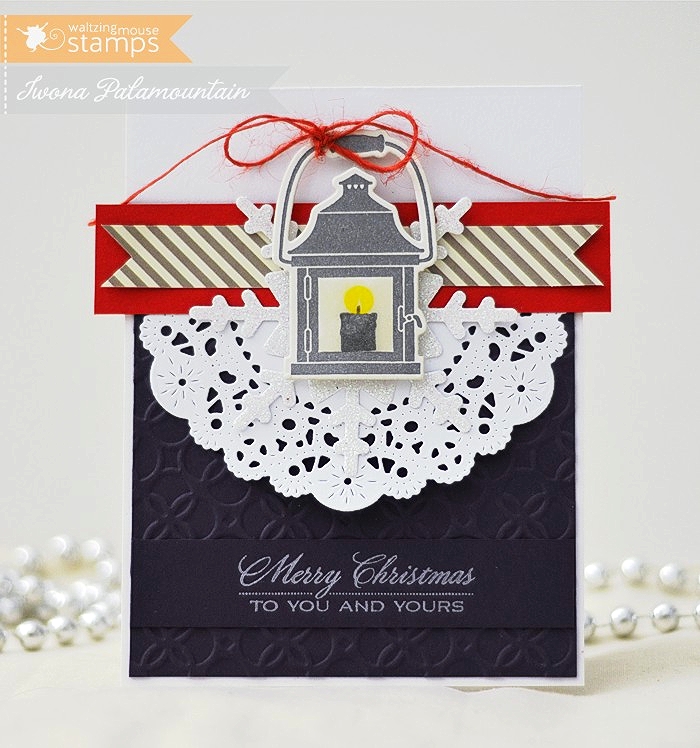
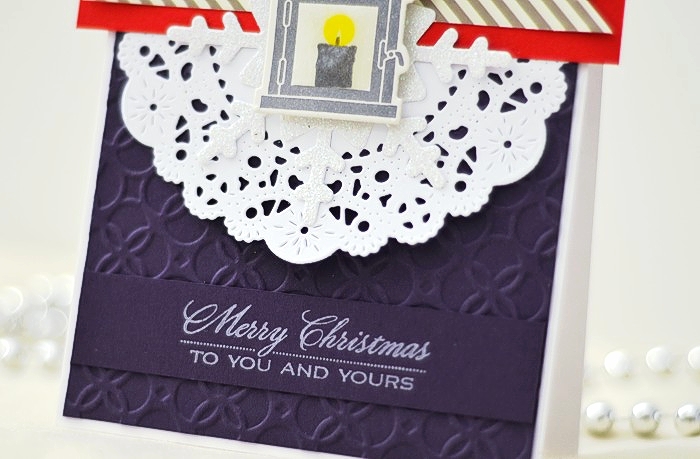
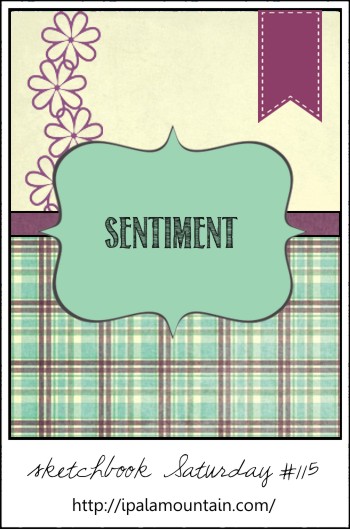
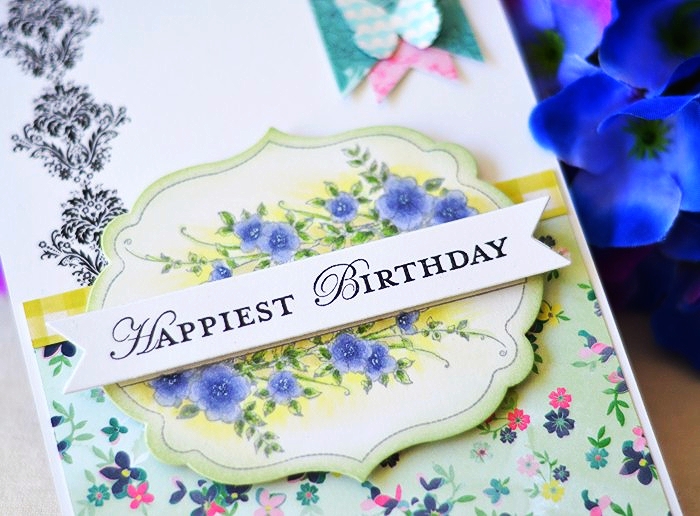
Today’s sketch is closely inspired by this card by Ivana (second one in the post). I love it, even though it’s not what I’d usually go for these days. I hope you’ll like it too 🙂
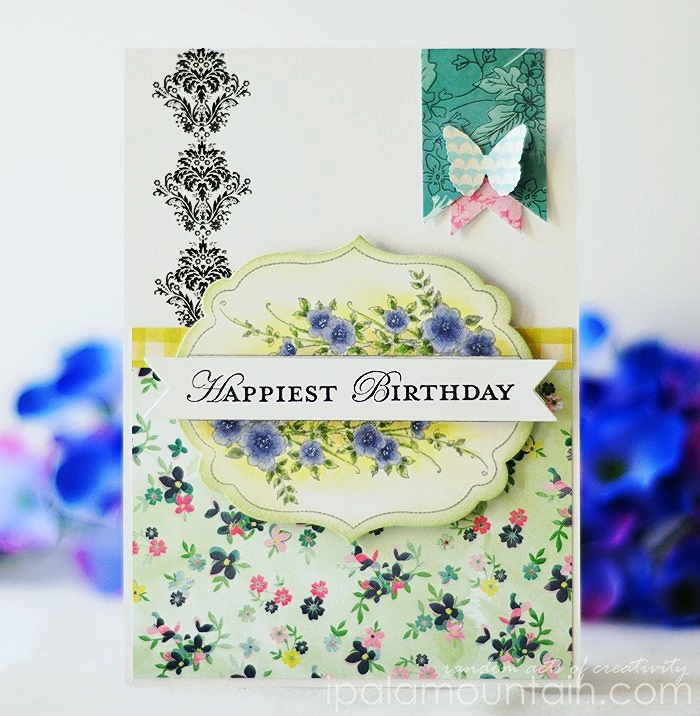
Once again an eclectic mix on my card… SU! stamps, Basic Grey papers, Kaisercraft rub-on, Copics…
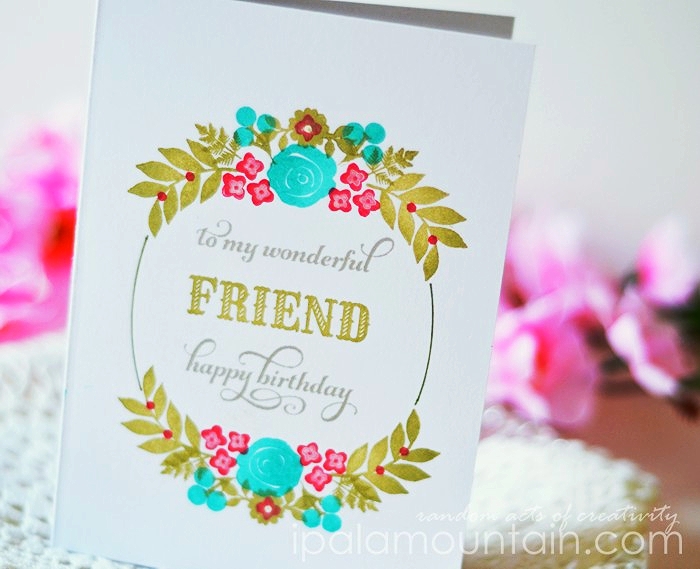
Copics I used:
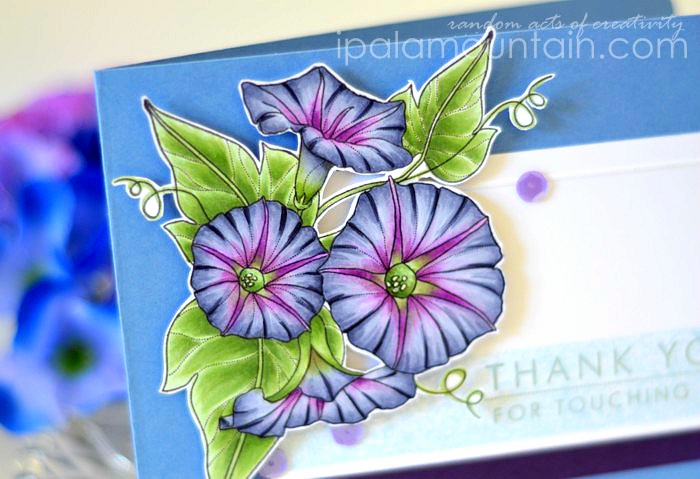
G40, G82, G85
Y00
BV20, BV23, BV25
G40, G82, G85
Y00
BV20, BV23, BV25
***************************************************************************
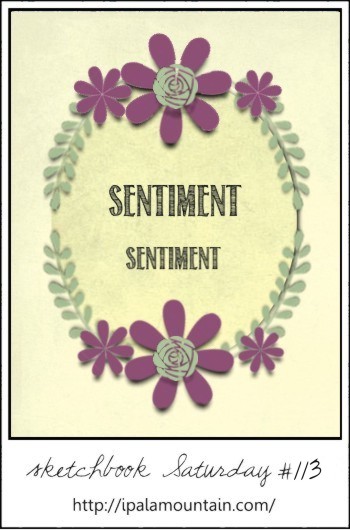
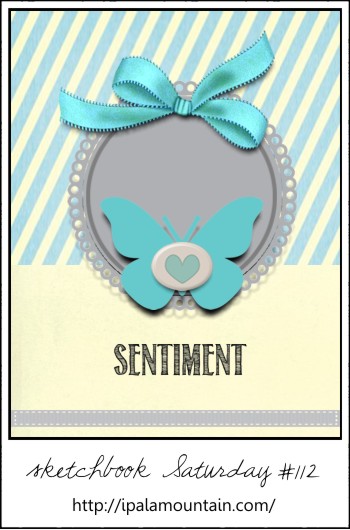
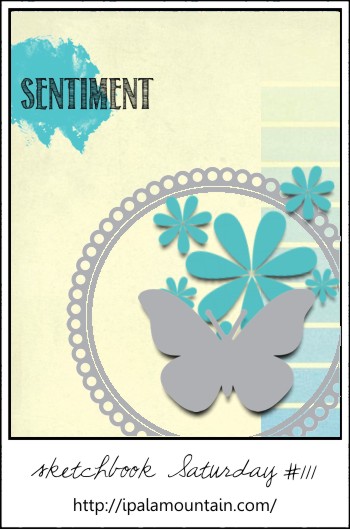
If you would like to play along:
- You’re kindly asked to save the sketch image onto your computer first, and if you make a card based on it, please link back to this post.
- Share the link to your creation via the Inlinkz widget below, so that I can come and check it out!
- Share the link to your creation via the Inlinkz widget below, so that I can come and check it out!
Perks:
- A new sketch is posted every other Saturday night (10pm Australian EST, 6am American EST, and the link widget is open for two weeks. However, you’re welcome to play any time! Just leave a link in the comments section and I’ll pop in to see it.
- Every now and then, I’ll be inviting one person who uses my sketch, to join me for the next one!
In other news:
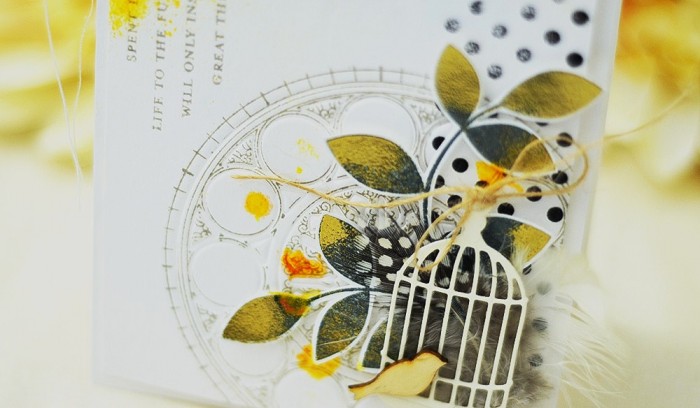
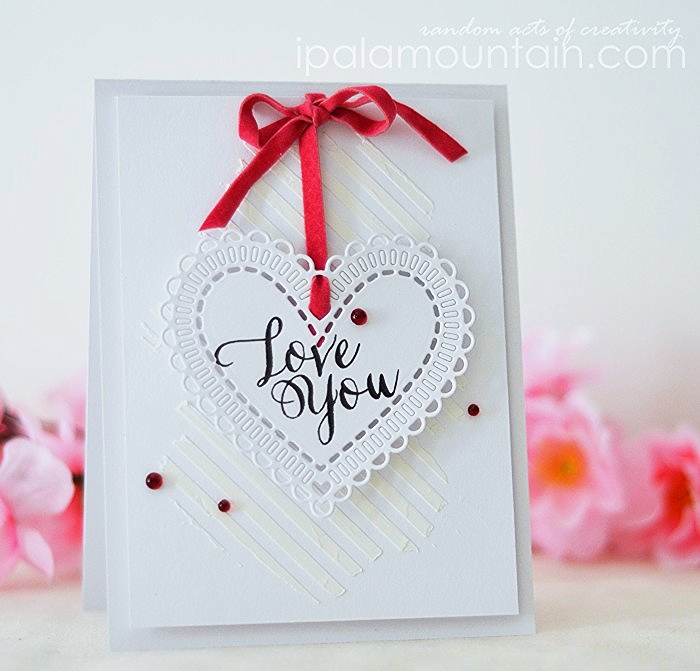
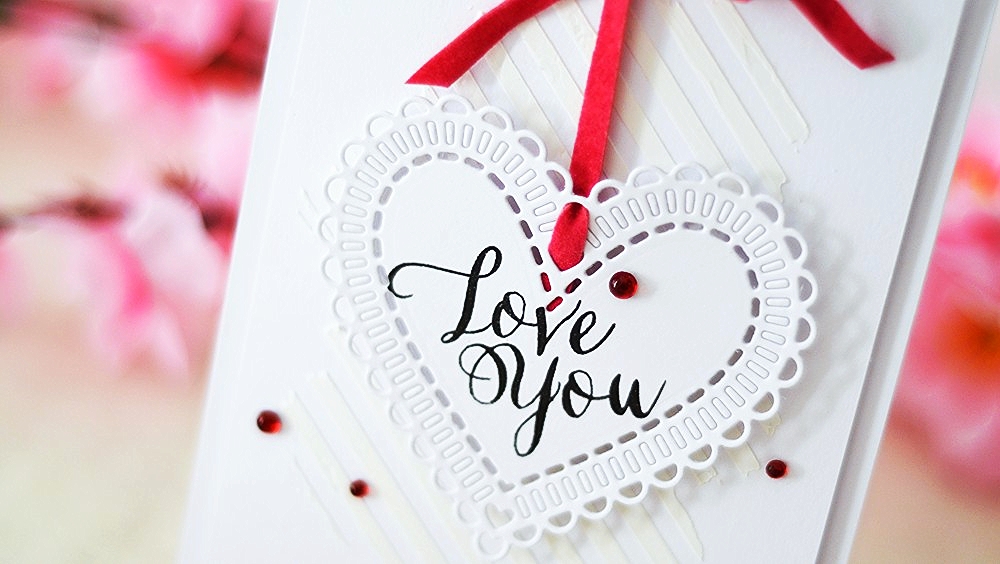
- I’m guesting for the Russian My-Scrap blog, with a Valentine theme and this card featuring WPlus9 stamps, Simon Says heart die and embossing paste. Supplies listed below. Hope you’ll check the challenge out! >clicky<
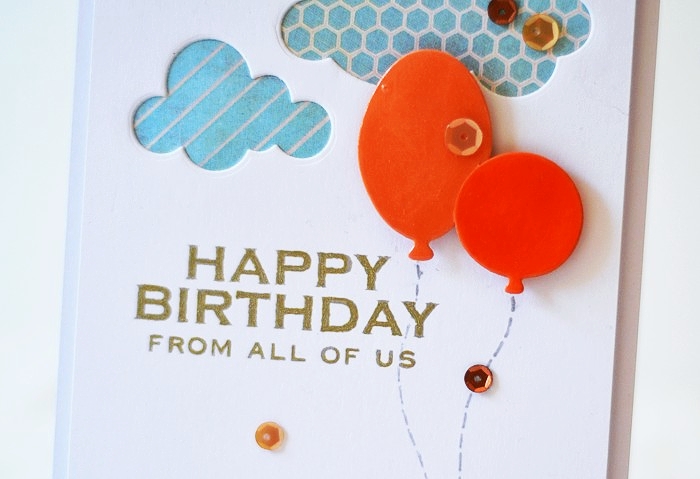
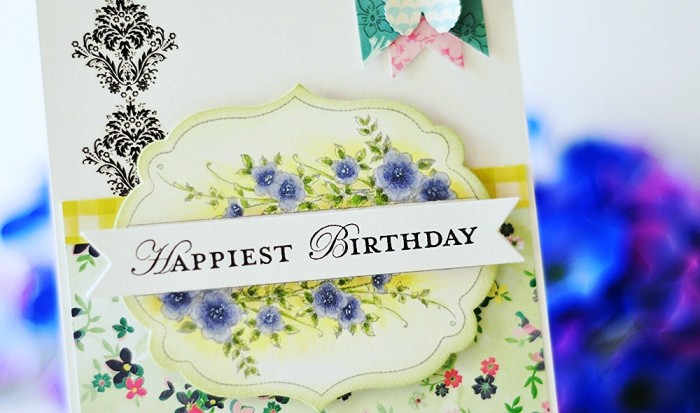
Happiest Birthday card


Love You card