Apr 27

Jay Gee’s Nook - That’s what I’m talking about

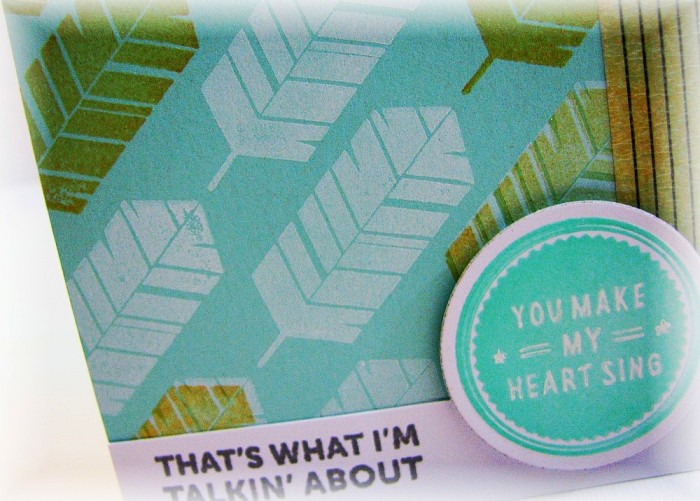
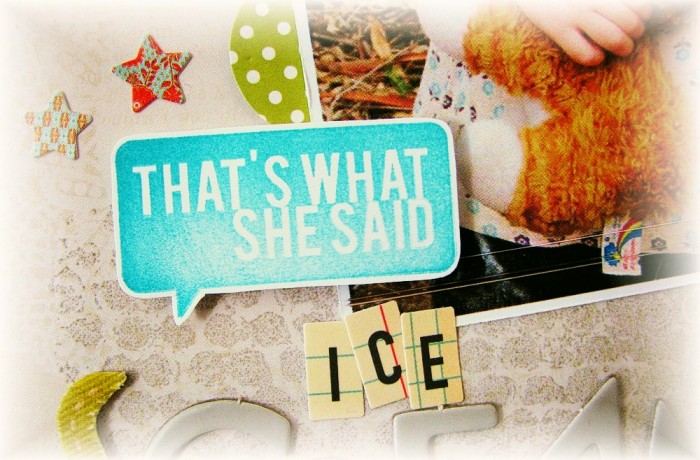
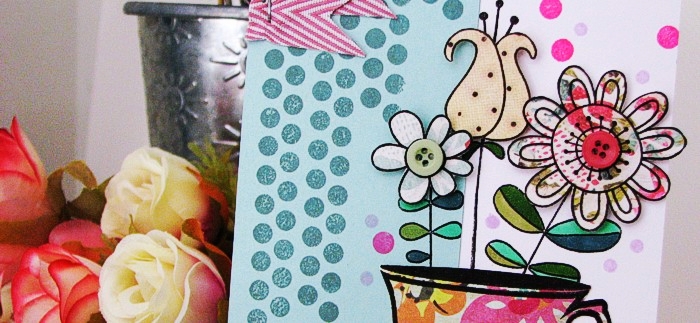
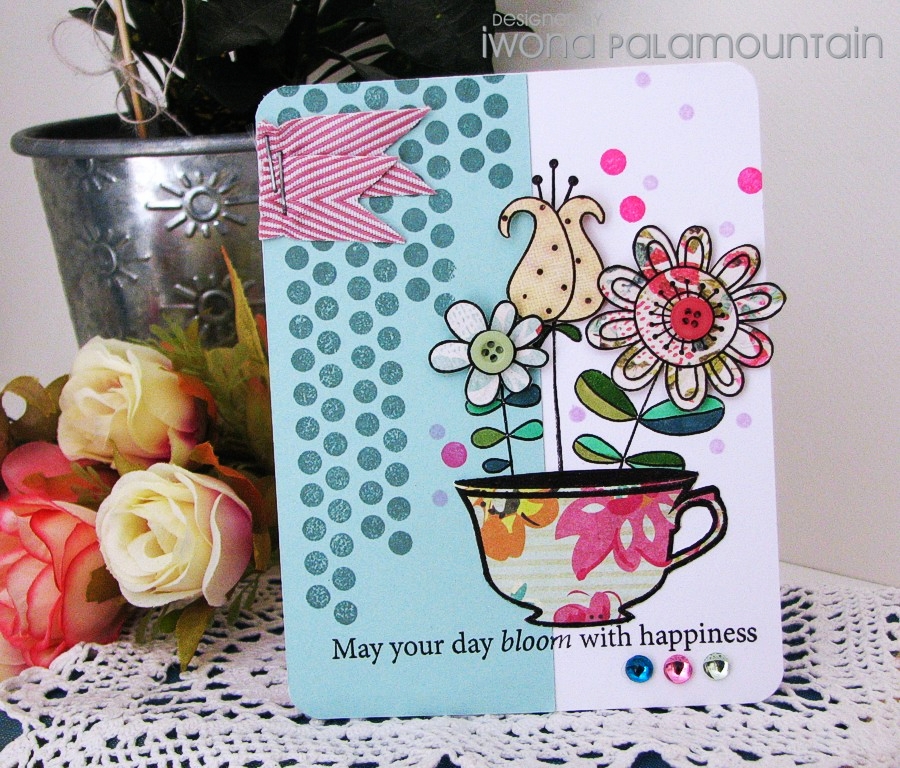
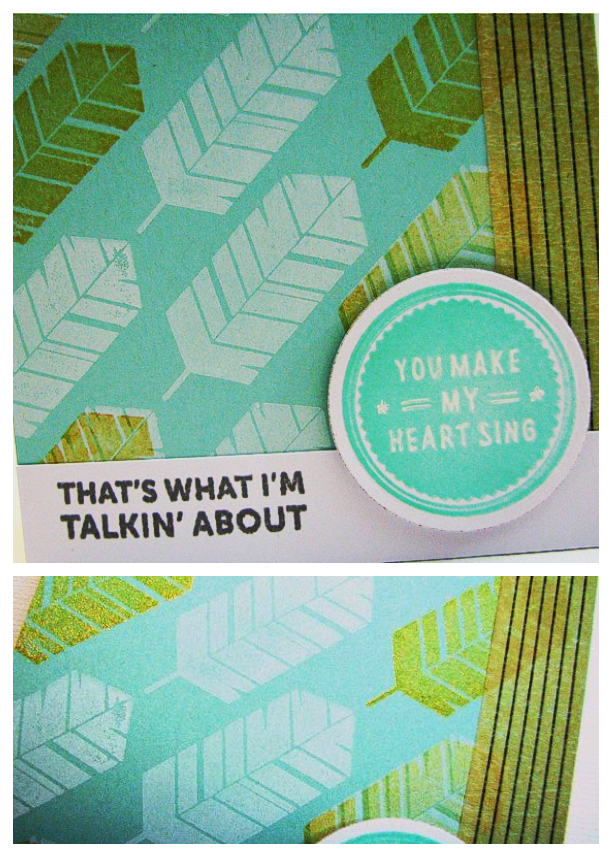
Hi there! Weekend is upon us and it means that it’s time for a Jay Gee’s Nook post! I’m on a Mama Elephant kick again, hence the choice of stamps for today’s card - Smitten & Say What. I stamped the feathers from the first set, in both white and gold inks (WPlus9 and Brilliance, respectively), using either one of these or over-stamping the white ones with gold, in a slightly offset position.

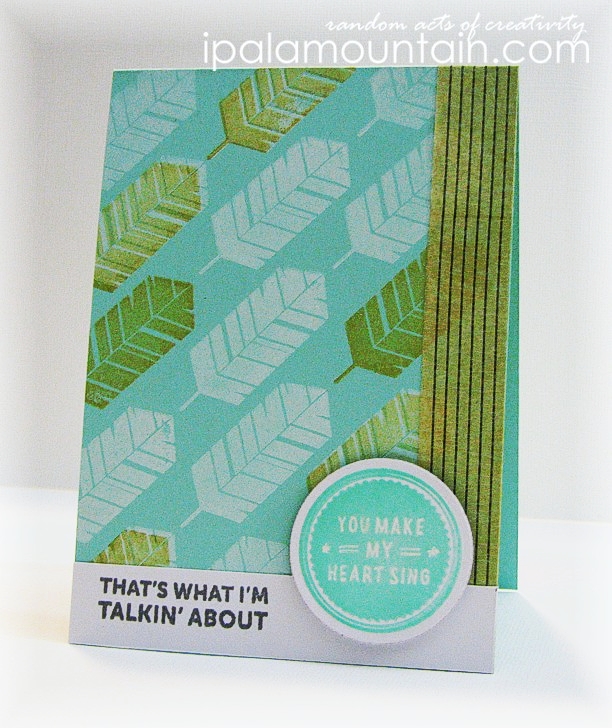
The badge was stamped using Versa Magic Aquatic Splash and I added the sentiment from the latter set, in Memento Espresso Truffle. The strip of tissue tape to the right, belongs to 7 Gypsies.

Tune in for some more crafty goodness, by visiting the Jay Gee’s Nook blog! See you later, have a wonderful weekend :)


Apr 20

Jay Gee’s Nook - A new addition

I’m sharing a card made for Jay Gee’s Nook blog today, also ticking a couple of fun challenges while I’m at it! One of them is Muse Challenge #13, with Marion’s card below that gave my layout a kick-start…

Another one, a challenge that’s quickly becoming my favourite, 10 Minute Craft Dash #16 with the colour palette below:

My take on the two, with some yummy WPlus9 products, Folk Art Florals stamps & dies and the sentiment from Heartfelt Mix.

Traditionally, here’s a snapshot of what I started with… cheated a bit by preparing ahead not only my card base, but the white card layer as well :) Also, I ended up using pink & purple Memento inks for the sentiment (and the flowers that I decided to add as well), instead of Versafine (stamp set grabbed later, so not pictured).

I made it in a pretty neat time, but I probably wouldn’t make it without the help of the pre-cut paper…

Tune in for some more crafty goodness, by visiting the Jay Gee’s Nook blog! See you later, have a wonderful weekend :)


Apr 13

Jay Gee’s Nook - sunshine + happiness

Hi there, sharing a fun little card for the Jay Gee’s Nook blog today! It features the So Breezy stamp set from Mama Elephant, Glitz Design paper (& some paper scraps), Studio Calico wood veneer and a lot of misting.


I’ve got a knack for substituting the standard kites from the set, with whatever falls into my hands at the given time… lol. I dig the effect, though… and imagine the possibilities!! :)
Cheers, crafty friends… see you again soon!


Apr 06

Jay Gee’s Nook - I scream for…

I’m sharing a scrapbook page on the Jay Gee’s Nook blog today! I’m so happy to have dabbled in scrapbooking again, after a rather long-ish break. This time even the photos didn’t turn out bad, so I may call it a small success and an encouragement to try again soon!
I captured this photos of Chuplet a couple of weeks ago, on a casual road trip we had. It was one of these fine days when events unfold before you in the way you’d have never expected. We went to see an old homestead, historical site in the neighbourhood and on the way back we decided to take a scenic route and look for some grazing kangaroos. Instead, we stumbled upon a local fair with live music and free food, which Zuzia took up immediately :) She’s such a ice-cream fan!

I stamped the badge and the speech bubble from the Say What stamp set (Mama Elephant), cut out the latter and popped up on the foam tape. I had a few die-cut pieces left from the last time I used the Rainbow Die-Namics, so I used them as an additional decoration. I’m quite into Studio Calico wood veneer these days, and I used their Chevron Snippets and Stars here.
The bubble wrap stamp is a Unity Stamps wonder called Painted Punchinella, I stamped it directly onto MME patterned paper base (Miss Caroline) with Distress Ink.
The scraps of papers and die-cut embellishments, come mostly from Basic Grey (pb&j) and Glitz Design. The splatters were done with an October Afternoon Sprinkler (Sidewalks).

Pop in to the Jay Gee’s Nook blog for more from the Design Team :)


Mar 30

Jay Gee’s Nook - desktop calendar

Hi there! If you’re one of the “always too late buying a calendar(s) for the year” gals like myself, this post might be just for you! Today on the Jay Gee’s Nook blog, I’m sharing a simple yet stylish desktop calendar template, customized with WPlus9 Chantilly Trim stamps. With a printer, a few sheets of cardstock & some ink you can go from this:

…to this in no time!

I’m sharing the printable template at the end of this post, in both Word and PDF formats, if you’d like to give it a go yourselves. This is something my hubby whipped up the other day, and the pages you see below, I’m now using myself to write down my crafty deadlines!
The file will print out as three A4 pages, with four months fitting on one page. All you need to do is cut each page in four, to separate the months. Unless you want to do what I did: layer each month with a piece of cardstock - then you’ll need to cut 8 mm or less from both the top and left edge of each month, to make up for the nice border you see above (the cardstock mats are cut to A6 size - 1/4 of A4 sheet - and so will be the month sheets after cutting your printed pages down).
Please note, that the template represents metric measurements, so those of you who use Imperial measuring systems will need to adjust the template accordingly.
I took three shades of cardstock (retired SU! colours) and after cutting each of them in four, I had twelve mats ready to mount the months on. Then I simply combined different stamps from the WPlus9 set, to create four designs stamped alternately.

Now the little calendar pages are ready to be popped on your desk, together or one at a time, or bound together with a hole punch and some ribbon/twine. You can, of course, customize them in many ways, with different stamps and embellishments, they’d make a cute gift!
Pop in to the Jay Gee’s Nook blog for more from the Design Team :)

Click here to download!

Calendar2011.pdf Calendar2013.docx

……………………………………………………………………………………………….


Mar 16

Jay Gee’s Nook - Blooming cup

Good day to you, crafty friends!

I’m chiming in with a new Jay Gee’s Nook post, and it’s a very cheerful and fun card, with lots of paper piecing. I used up a few scraps lying around for quite a while, always a joy when I get to it! I’m very conscious regarding my supplies and save most of my scraps to be used later. How long they sometimes have to wait for their ‘second coming’, is quite a different story… lol

These whimsy flowers come from a Doodle Flowers set by Jane’s Doodles. I coloured the leaves with various Copic markers, and the flowers were paper pieced, cut out and popped up on foam dots.
The cup they’re growing from, comes in turn from Mama Elephant’s Cup of Wishes.

I stamped the dots border from the Mama Elephant set, in PTI Ocean Tides on aqua cardstock, and fitted in a few pink & lavender ones among the flowers. I’me pretty hyped with creating bokeh-like effects lately… :)

Twill ribbon banners fastened to the card, buttons and bling, add variety and finish the card.
Pop in to the Jay Gee’s Nook blog for more from the Design Team :)

Related Posts Plugin for WordPress, Blogger...